


Shadowline Masonry Picture Rail
$67.98
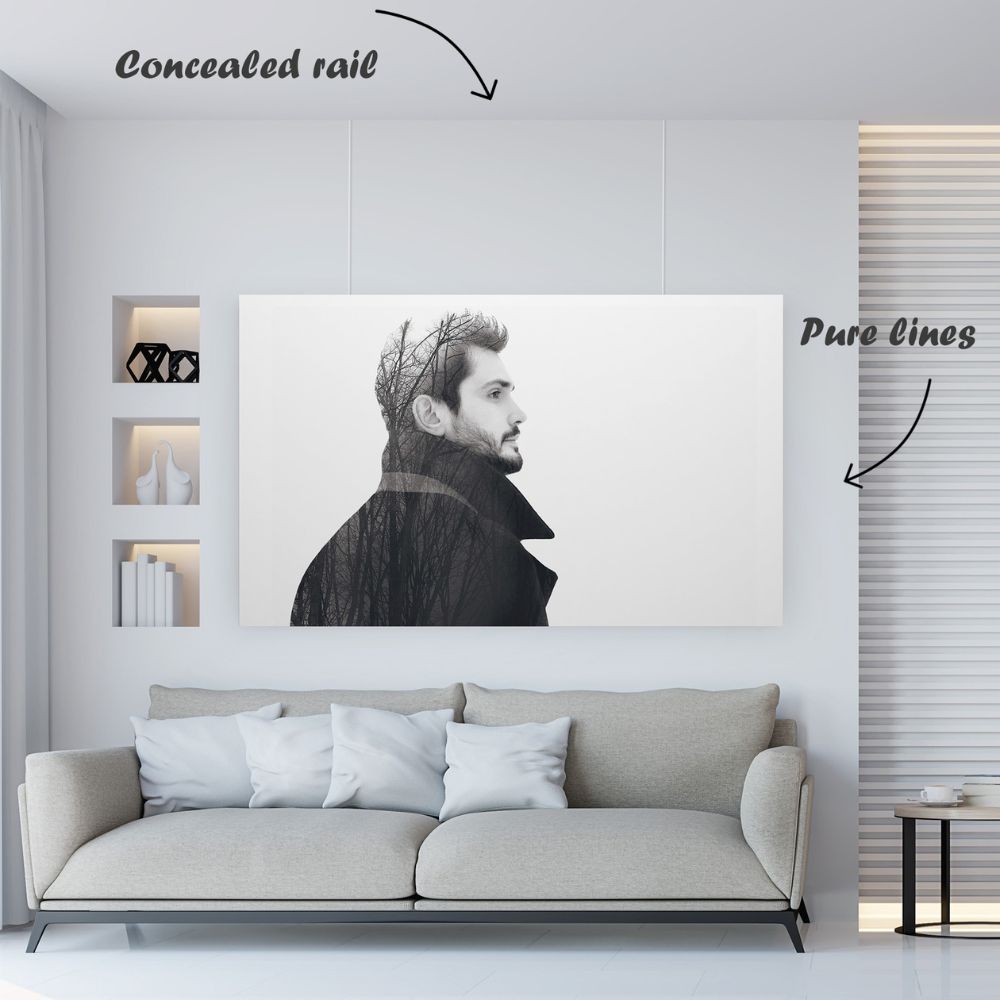
ArtiTeQ Shadowline Masonry Picture Rail gives you a clean architectural shadowline detail, while quietly doubling as a fully functional picture rail. No wall-mounted picture rail after handover, no drilling into finished walls, and no wondering six months later why the architect never mentioned it.
Key specifications
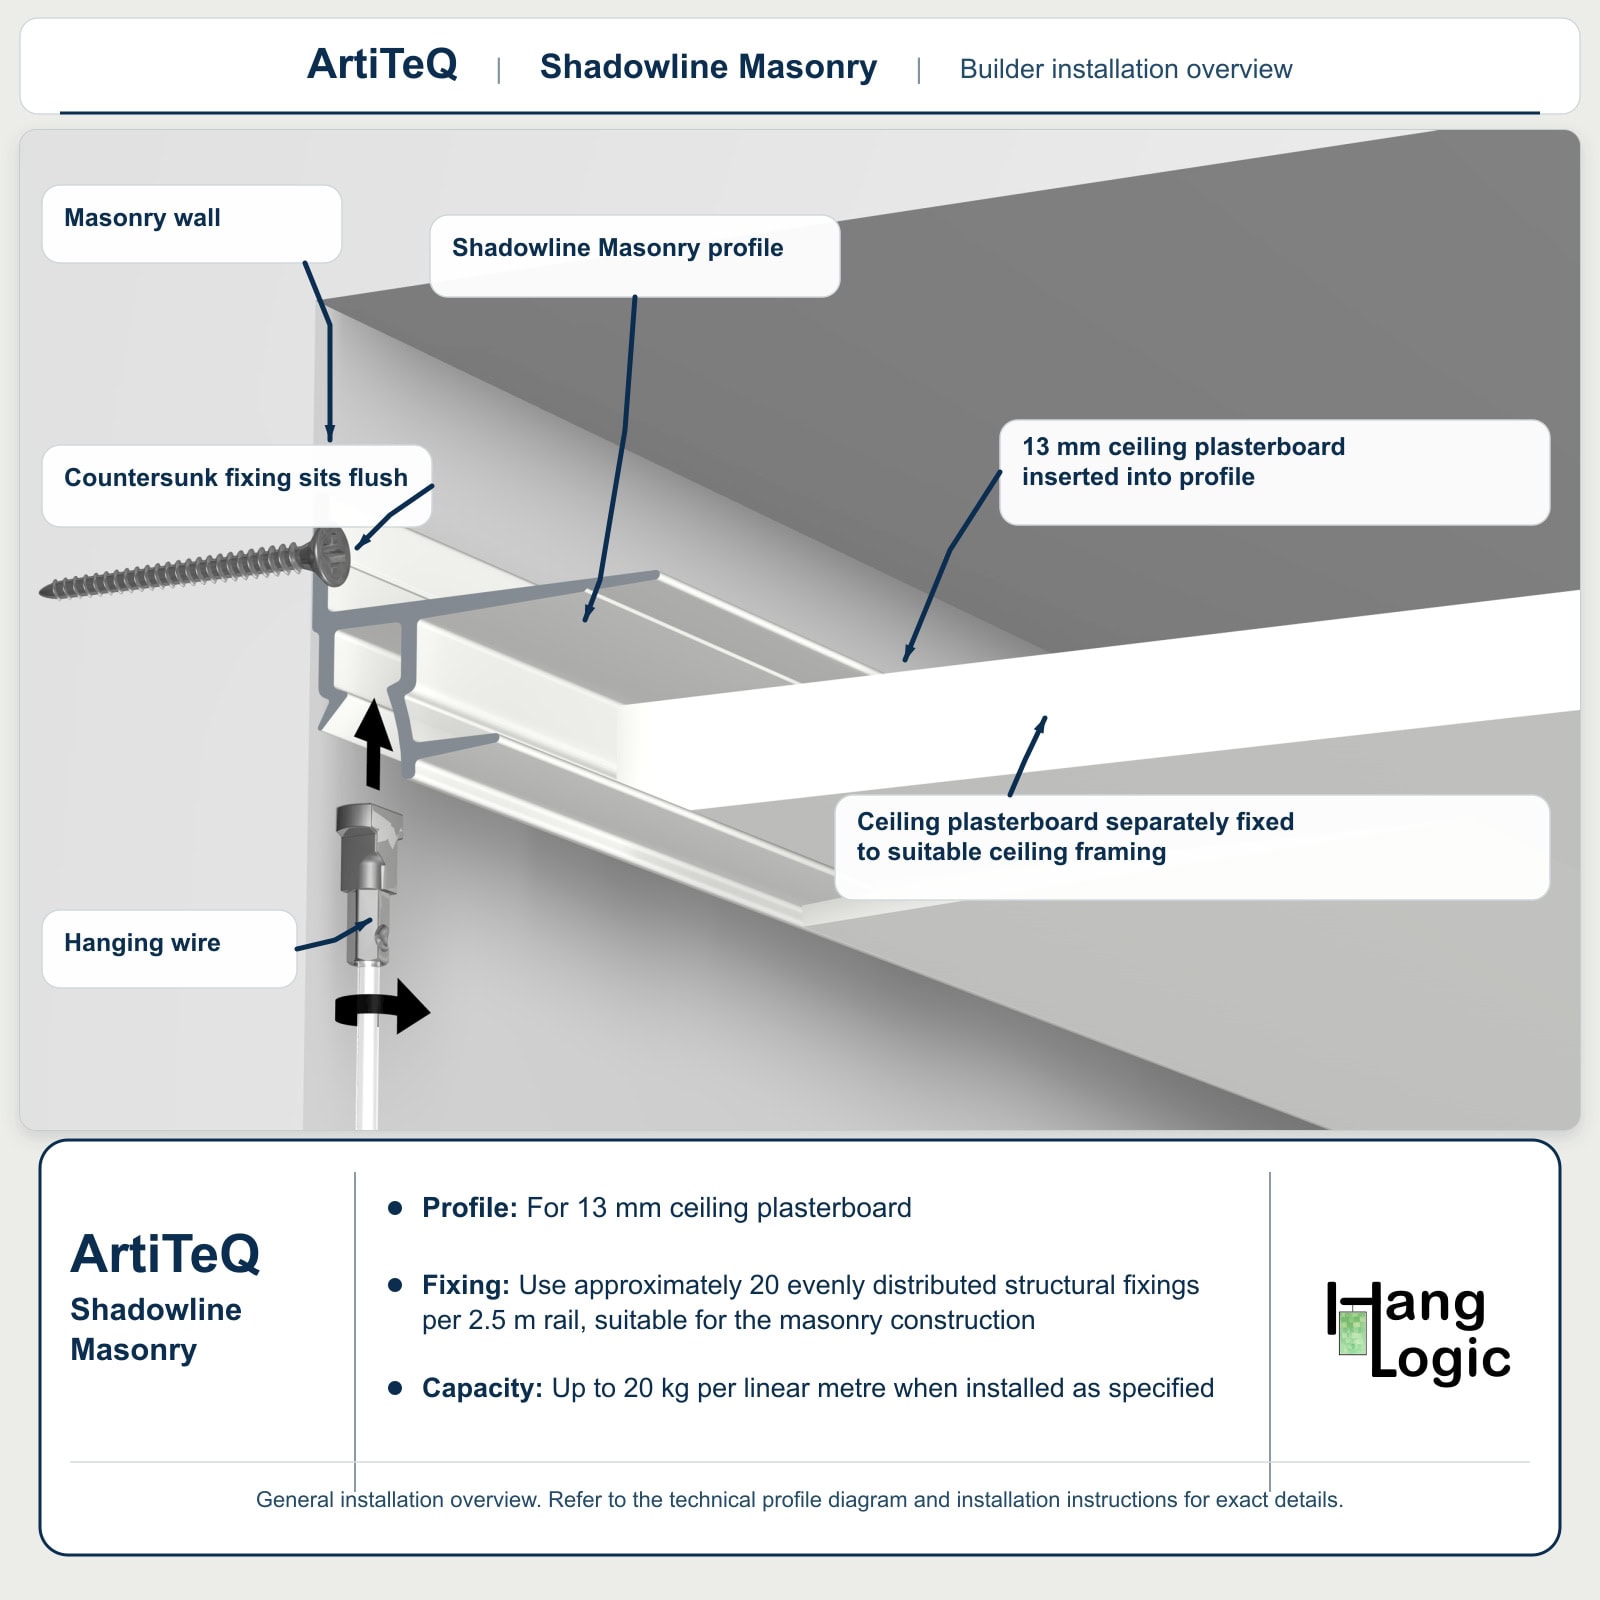
- System type: Wall-fixed, built-in picture hanging rail for masonry walls and plasterboard ceilings
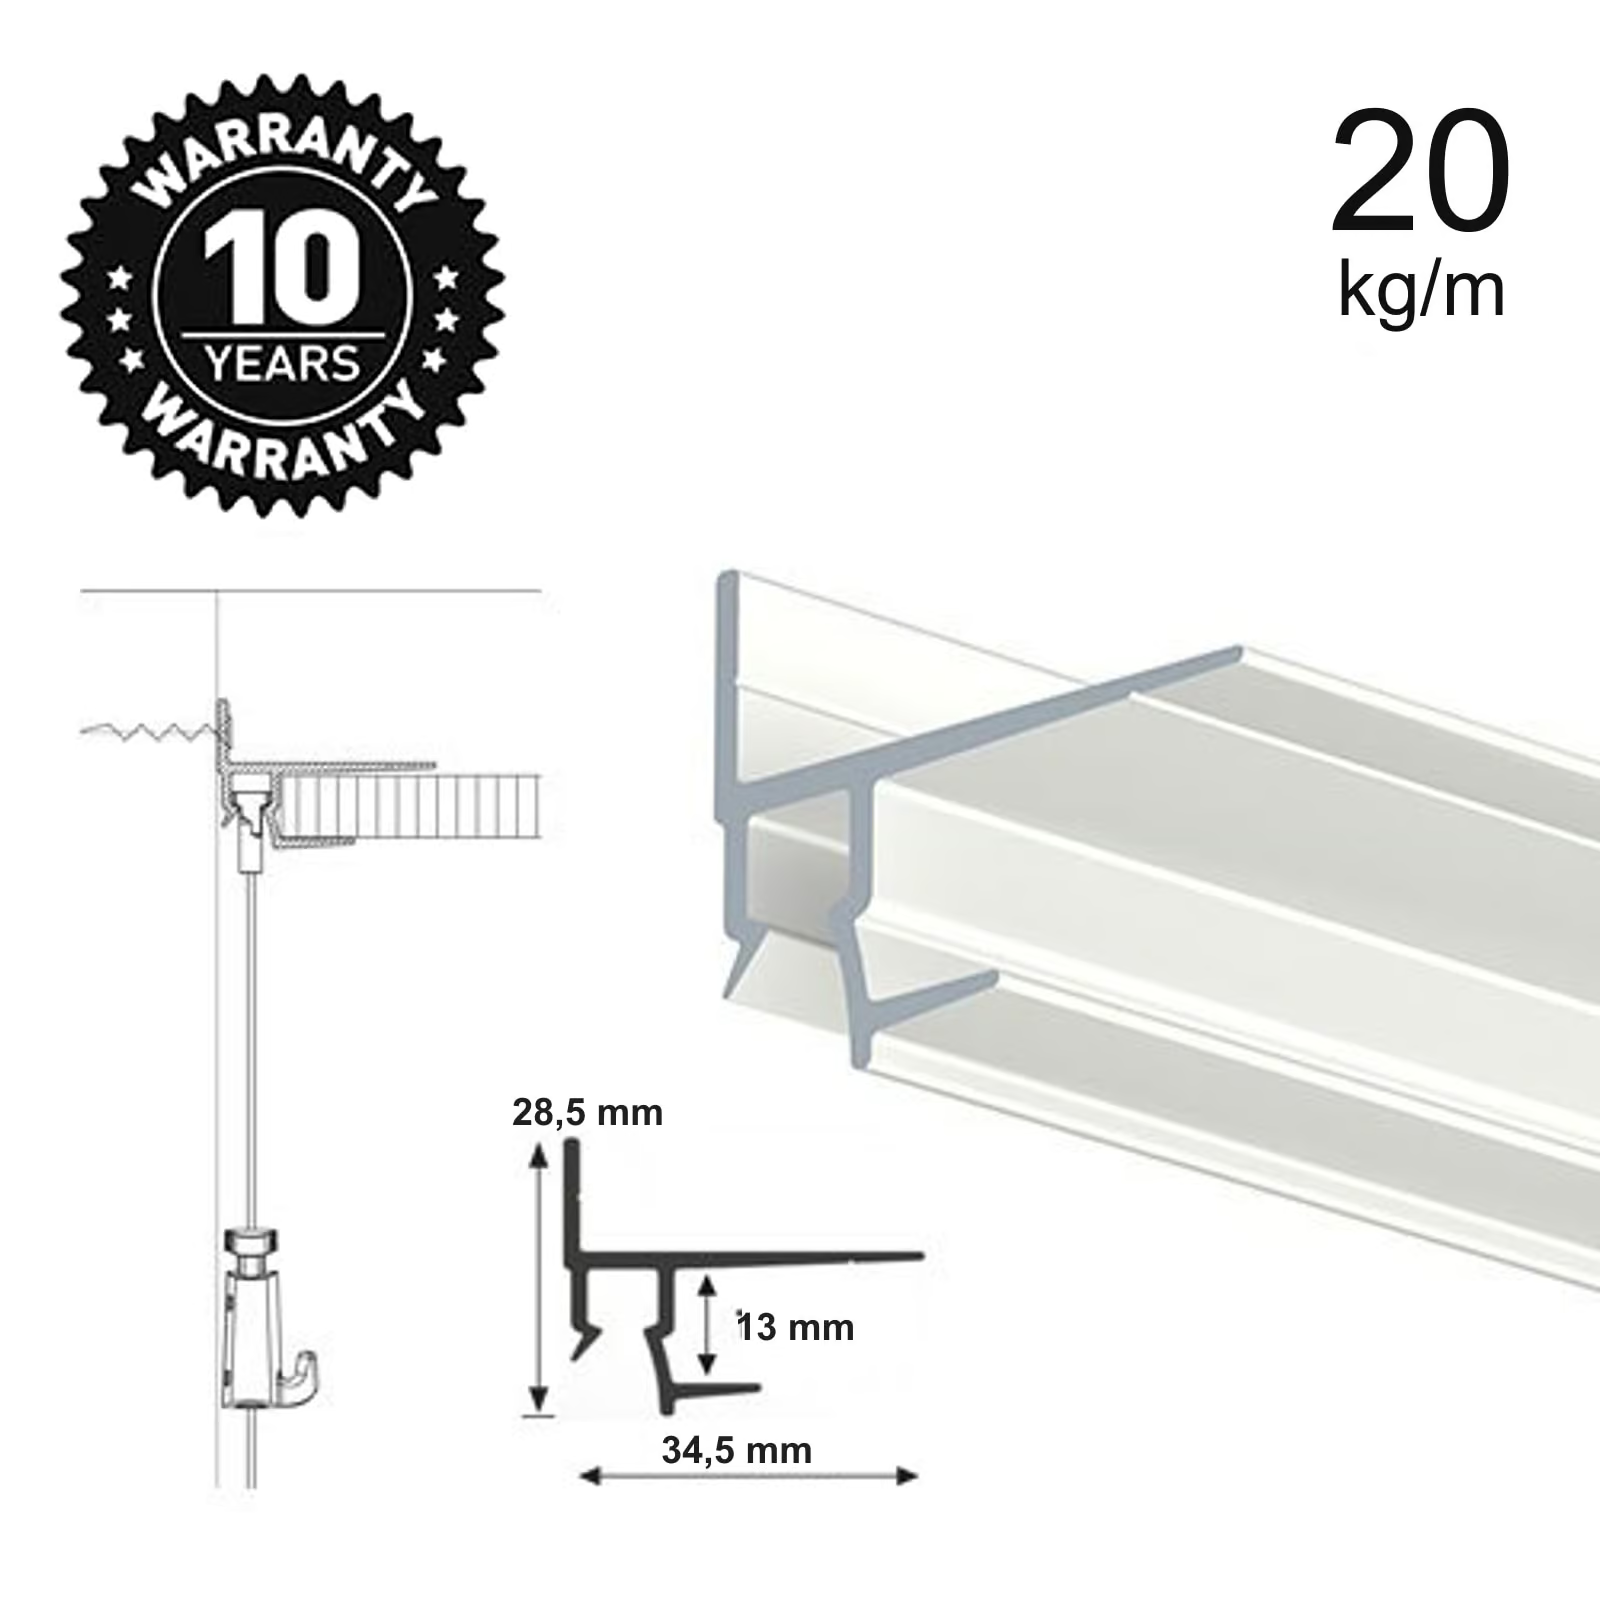
- Load capacity: Up to 20 kg per linear metre, evenly distributed
- Rail length: 2500 mm
- Ceiling plasterboard: Suitable for 13 mm plasterboard
- Profile dimensions: Approximately 33 mm deep × 26 mm high
- Structural fixing: Fix directly through the profile into suitable masonry, not into plasterboard alone
- Rail fixings: Use approximately 20 evenly distributed countersunk fixings per 2.5 m rail. The profile is not pre-drilled.
- Plasterboard installation: Insert the straight, square-cut edge fully into the receiving section and fix the ceiling sheet separately to suitable ceiling framing
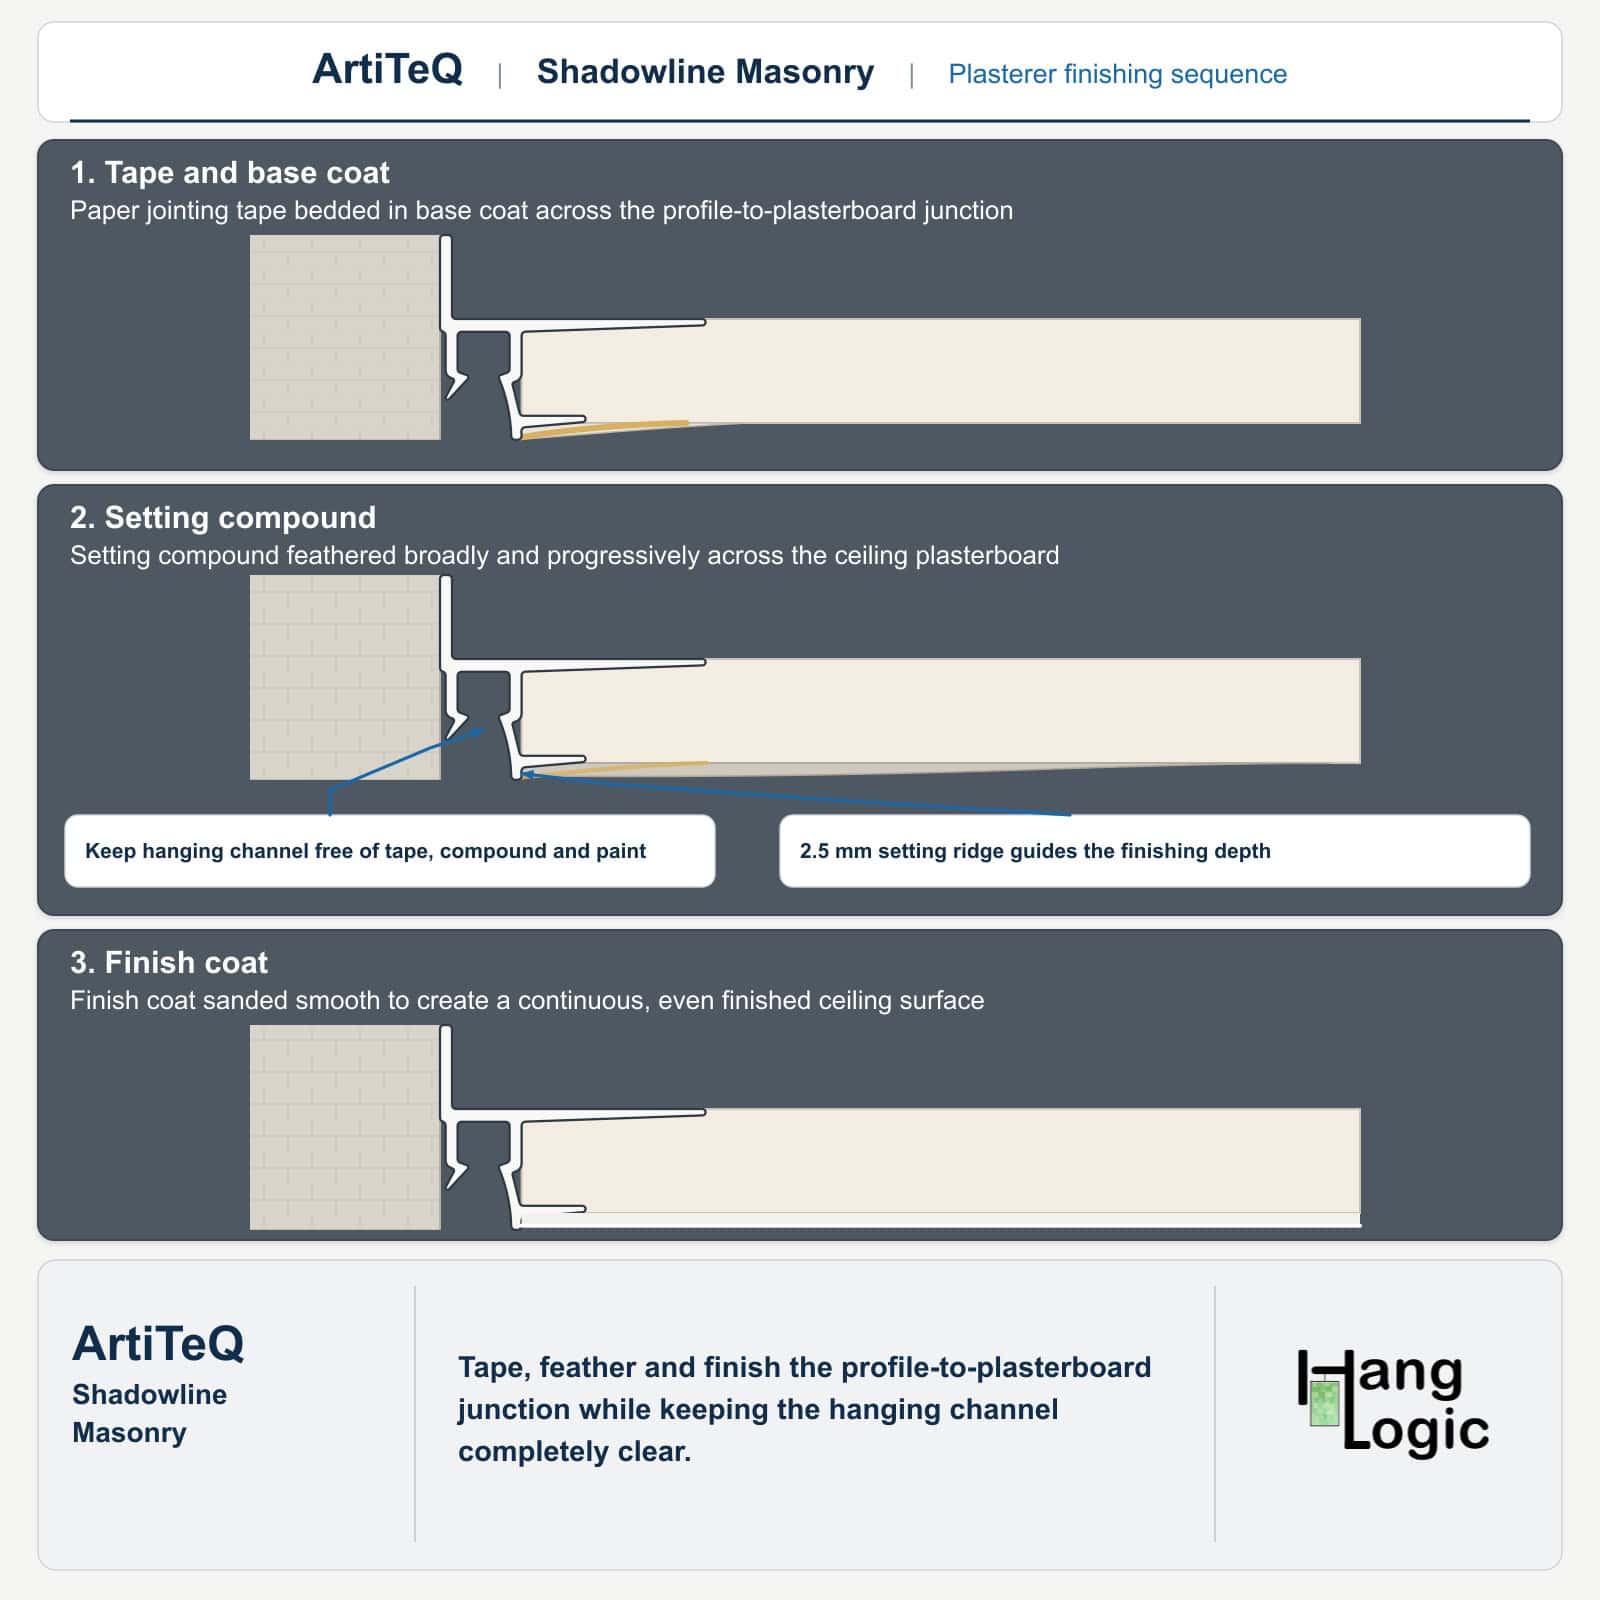
- Setting ridge: 2.5 mm finishing ridge guides the plastering depth
- Finish: Aluminium in white primer RAL 9016, ready for setting and painting
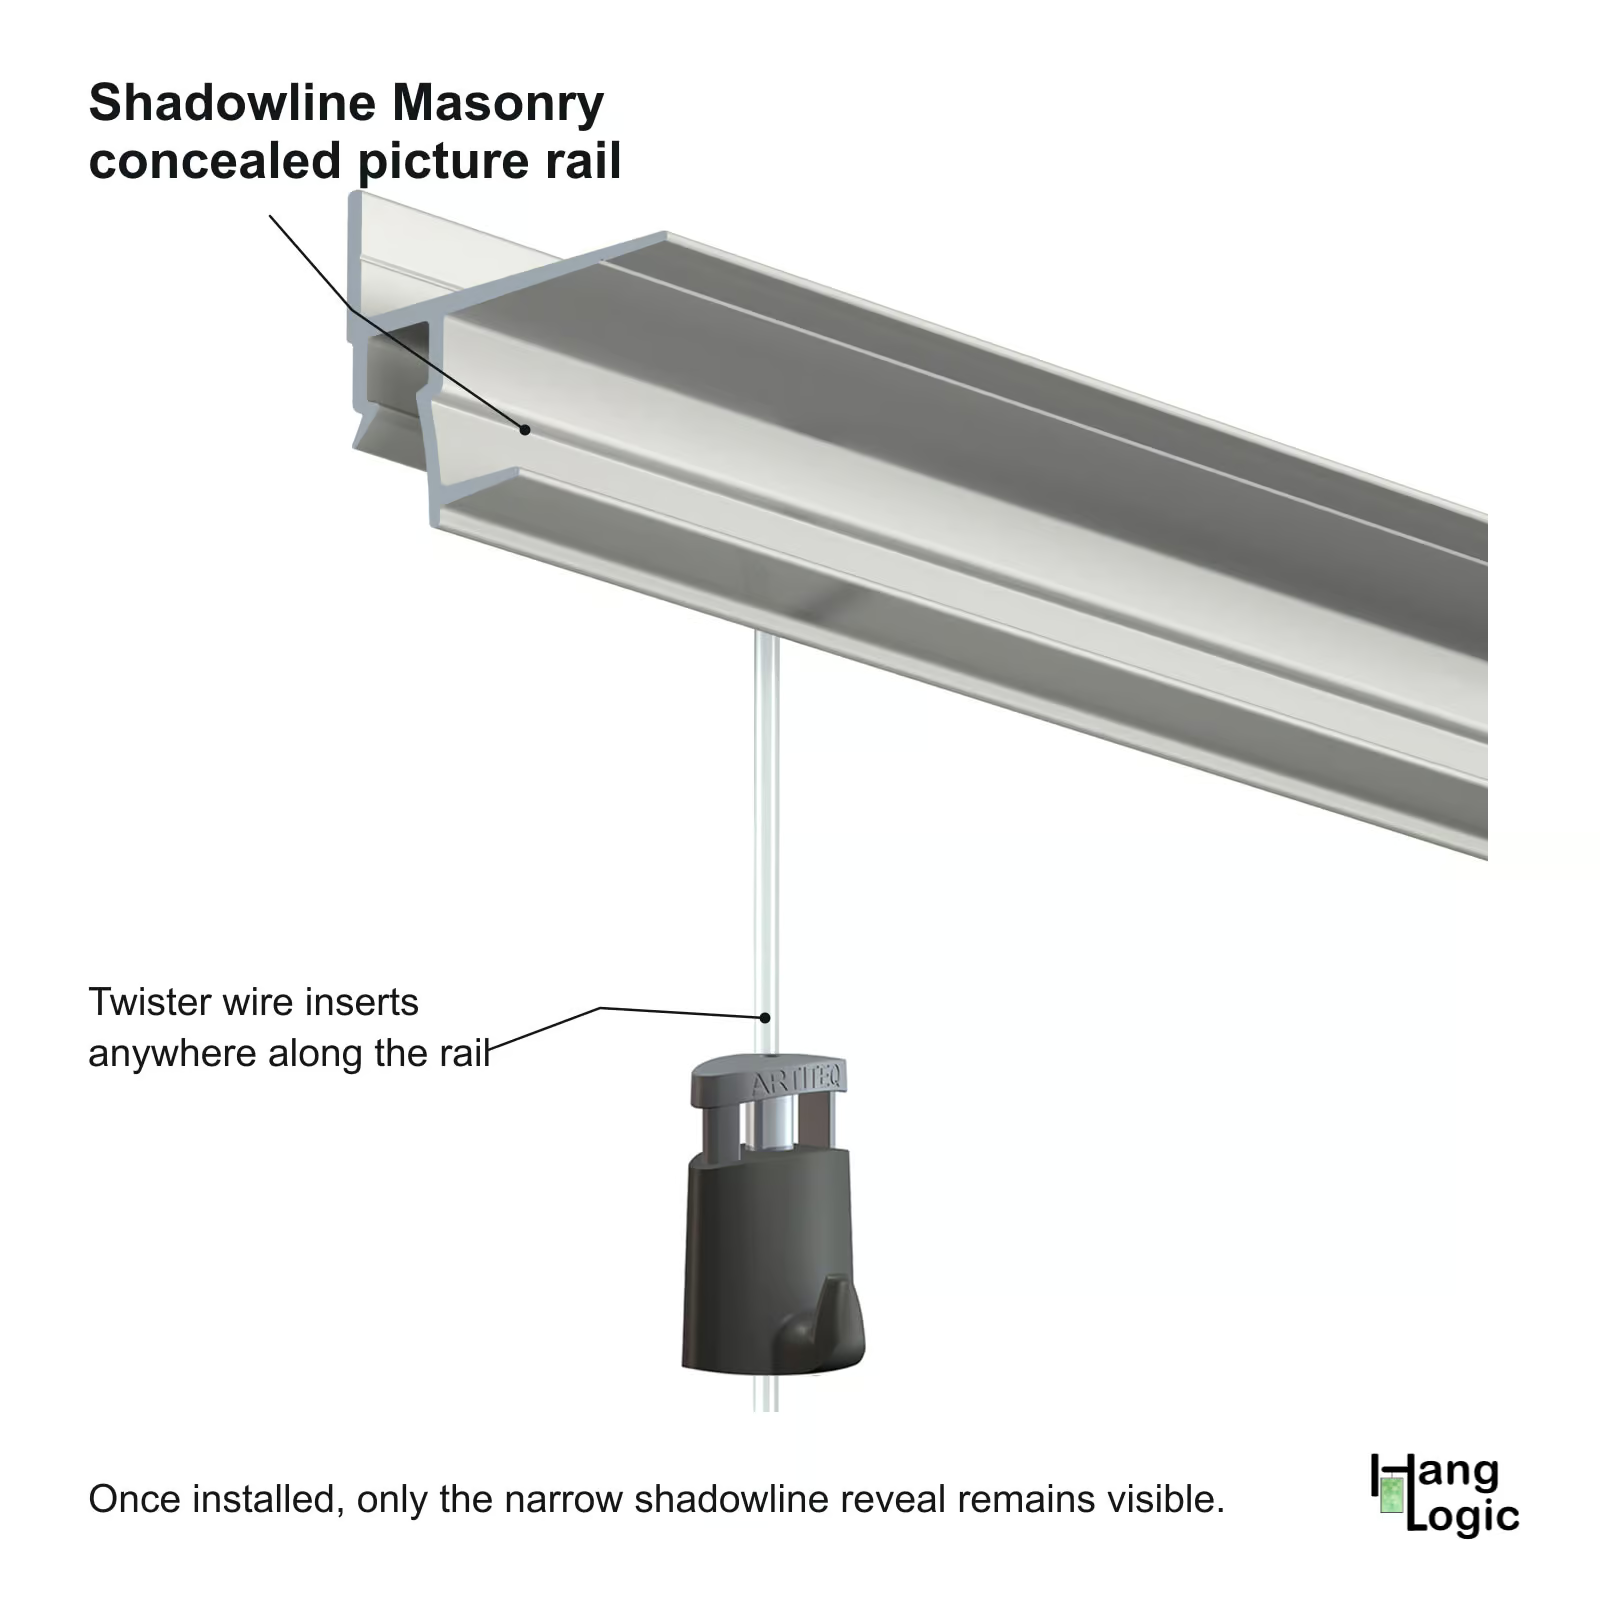
- Hanging wires: Insert Twister wires or Twister Cliq2Fix anywhere along the picture rail’s internal slot
- Hooks: Use a compatible Micro Grip, Auto Grip or Frame Hanger, selected for the wire and artwork weight
- Warranty: 10 years, with TÜV-certified safety factor 3
- Sustainability: Recyclable aluminium, with no repeated drilling, patching or repainting when artwork is moved
Price and availability
- 05.08430 Shadowline Masonry 13 mm × 2.5 m: $67.98, in stock
Download Shadowline Masonry documents
Installation and FAQs
How do you install Shadowline Masonry?
- Confirm the wall construction.
The rail requires a suitable continuous masonry fixing surface, such as solid brick, concrete, concrete block or suitable stonework. - Plan the installation sequence.
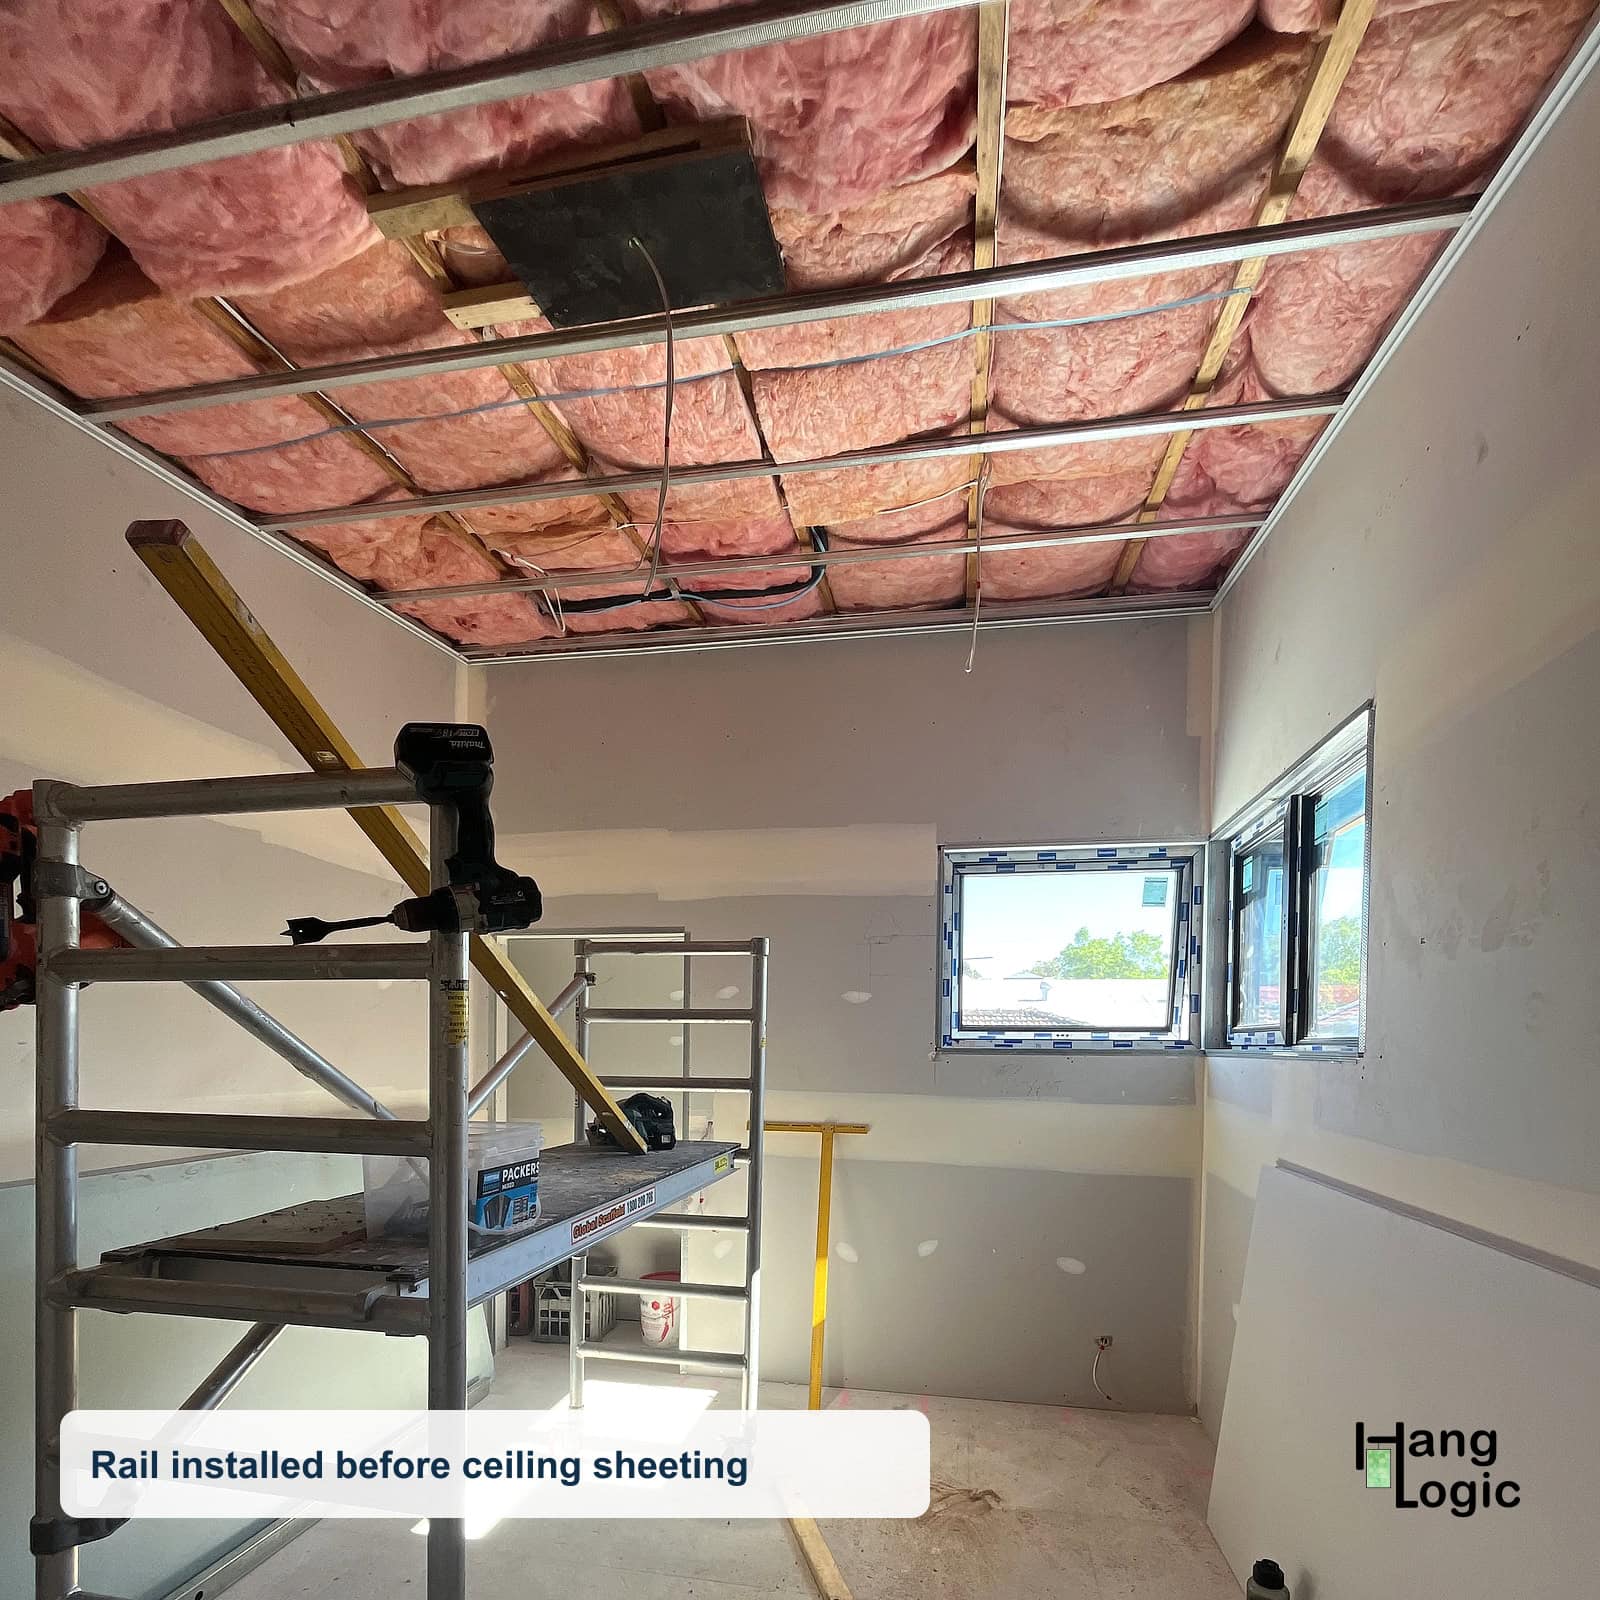
Install the rail during construction or a major renovation, before completing the plasterboard ceiling and junction finishing. - Position the rail.
Set the rail straight and level at the top of the masonry wall, in the required wall and ceiling junction position. - Drill the rail.
The aluminium profile is not pre-drilled. Drill the fixing holes to suit the wall construction and fixing positions. - Fix the rail into the masonry.
Use suitable countersunk screws, plugs or anchors for the actual wall construction. Use approximately 20 evenly distributed structural fixings per 2.5 m rail. - Keep every screw head flush.
Countersink the fixings so no screw head projects into the plasterboard receiving area or interferes with the finishing work. - Install the plasterboard.
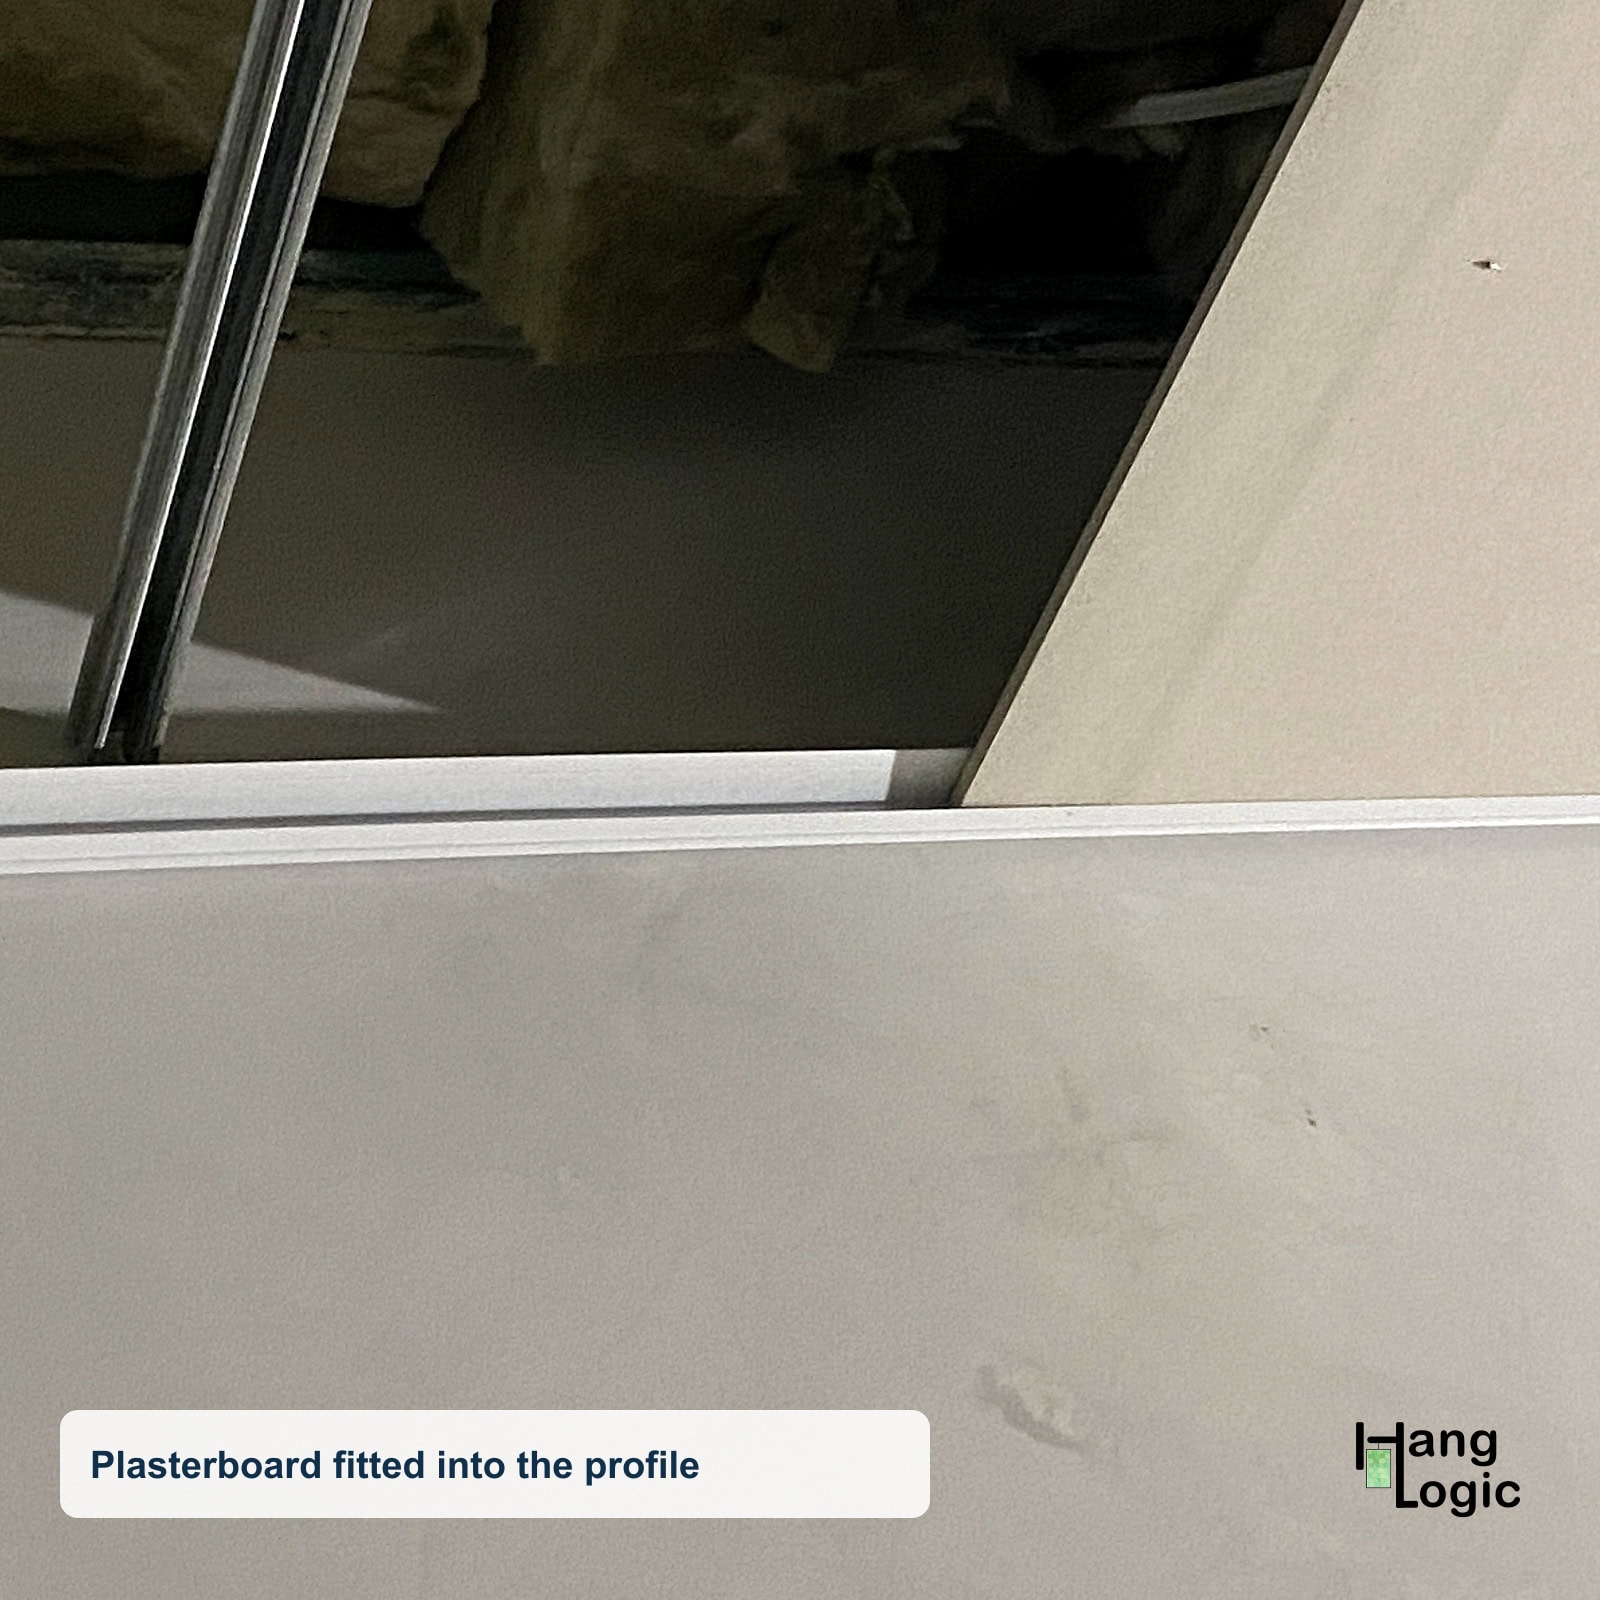
Insert the straight, square-cut edge of the 13 mm ceiling plasterboard fully into the profile’s receiving section. - Fix the ceiling independently.
Fix the plasterboard separately to suitable ceiling framing. Do not rely on the Shadowline Masonry rail as the structural support for the ceiling sheet. - Keep the hanging channel clear.
Do not obstruct the internal channel or underside opening with plasterboard, fixings, adhesive, compound, paint or building debris. - Finish the junction.
Tape, set, feather, sand and paint the profile-to-plasterboard junction as part of the ceiling finishing work. - Check the completed rail.
Before inserting hanging wires, confirm that the shadowline is straight and the hanging channel is clean and unobstructed.
What does Shadowline Masonry fix to?
Shadowline Masonry fixes structurally to the wall rather than to the ceiling framing.
It is designed for a suitable solid wall fixing surface, including:
- solid brick
- concrete
- concrete block
- suitable stonework
- other structurally suitable masonry construction
Choose screws, plugs or anchors appropriate to the particular wall construction. The correct fixing may differ between brick, concrete, hollow block, aerated concrete and stone.
How many fixings are required?
Use approximately 20 evenly distributed structural fixings per 2.5 m rail.
The rail is not pre-drilled, allowing the builder to position holes to suit the masonry and avoid weak joints, cavities or unsuitable fixing locations.
Keep all fixing heads countersunk and flush.
Does the plasterboard attach structurally to the picture rail?
No.
The straight edge of the 13 mm ceiling plasterboard inserts into the receiving section of the Shadowline Masonry profile, but the ceiling sheet must be fixed separately to suitable ceiling framing.
The profile receives and finishes the plasterboard edge. It must not be treated as the sole structural support for the ceiling lining.
Should the plasterboard be cut or notched around the profile?
No.
Use a straight, square-cut plasterboard edge and insert it fully into the receiving section.
Do not notch, rebate, shape, fold or wrap the plasterboard around the aluminium extrusion.
Will the setting ridge remain visible?
No.
Before finishing, the profile’s flange and 2.5 mm setting ridge will be visible. The setting ridge guides the plasterer and provides a consistent finishing depth.
The plasterer tapes and feathers the profile-to-plasterboard junction, applies the finish coat and sands it smooth.
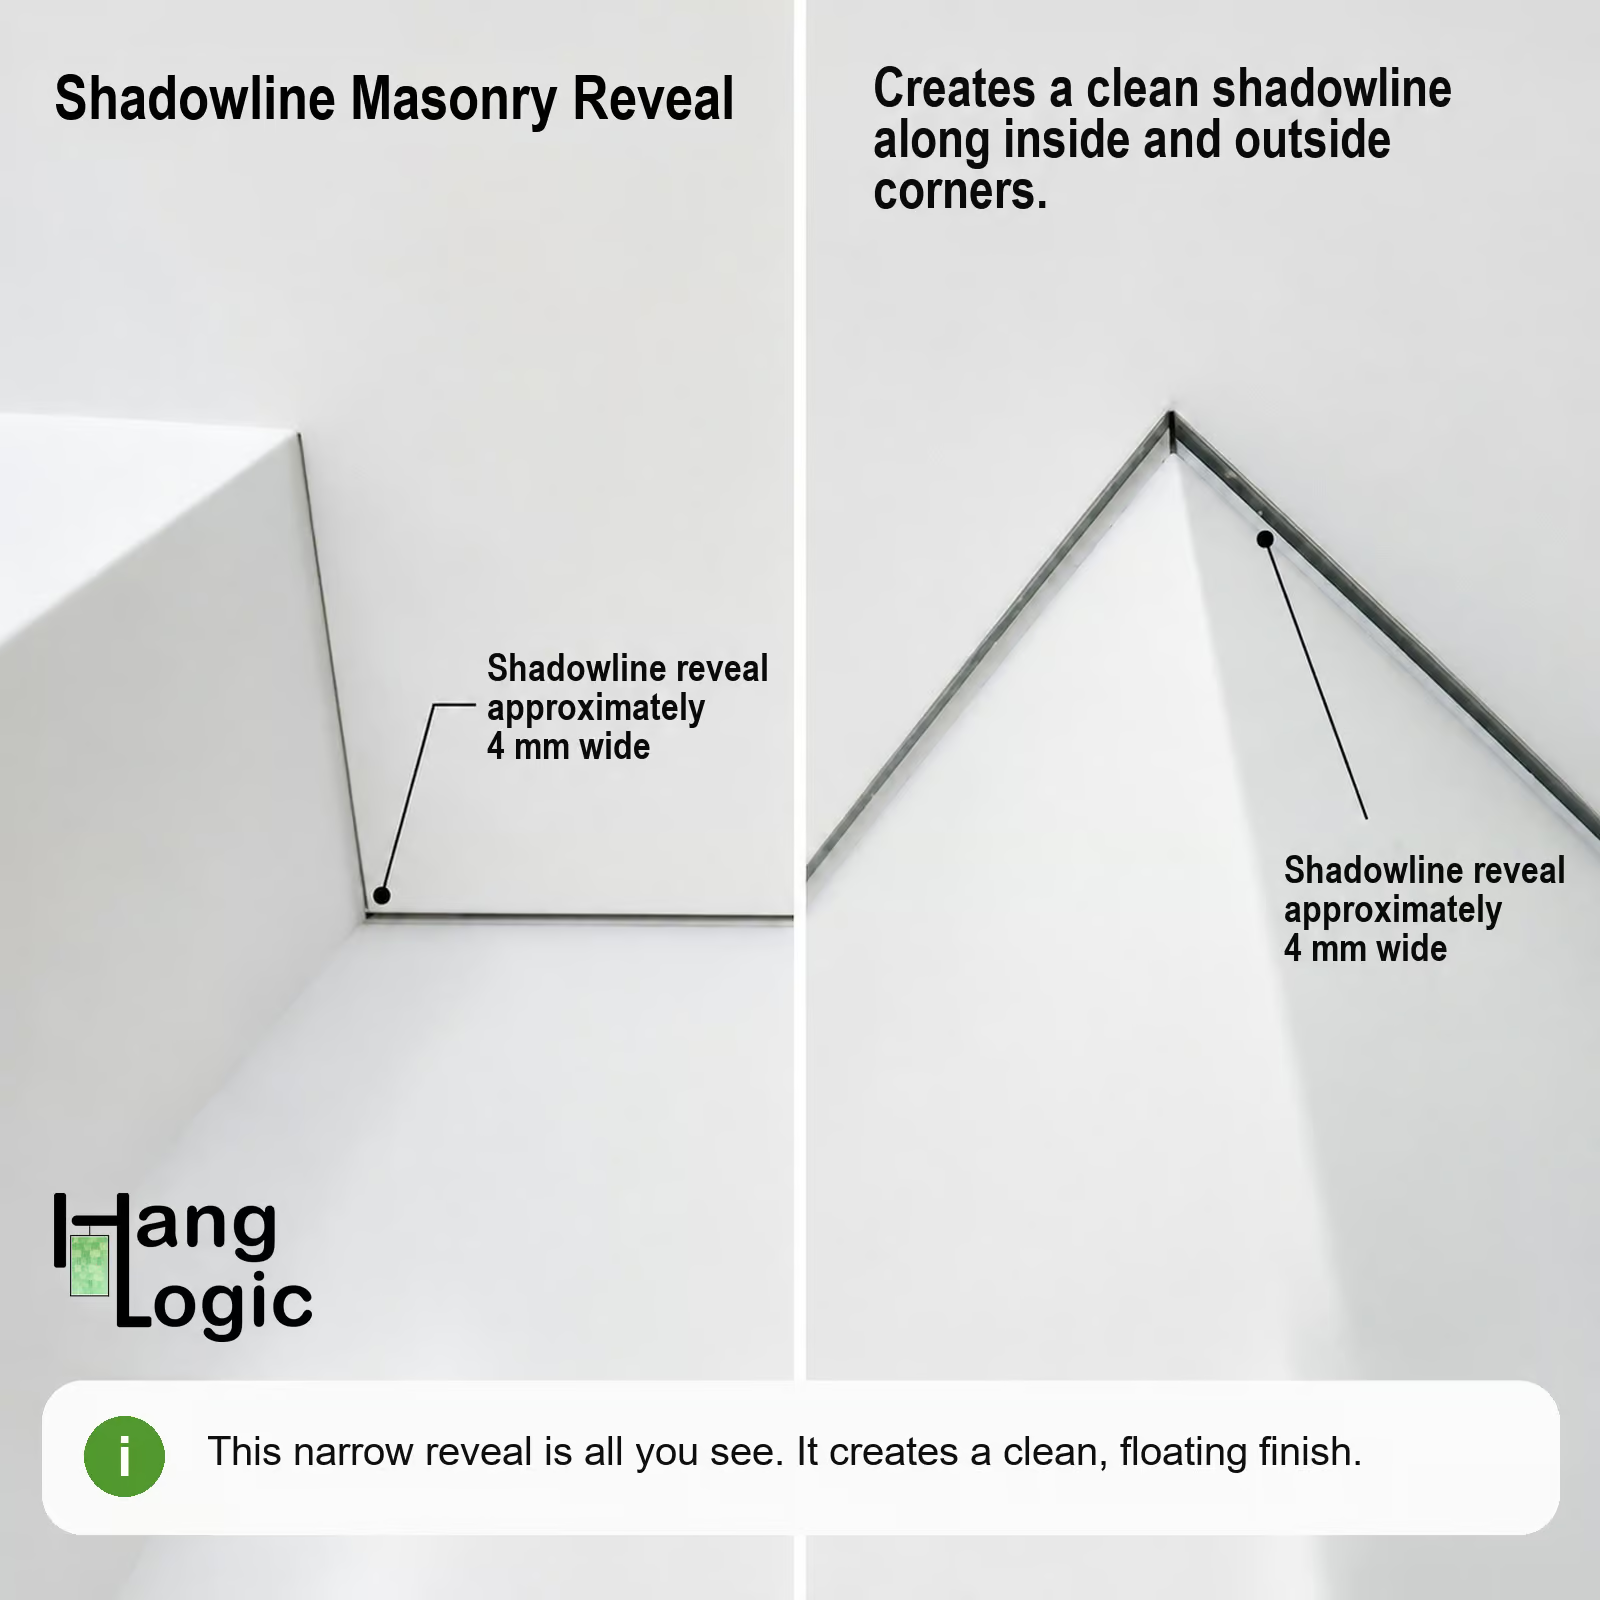
Once painted, the ceiling appears continuous, with only the narrow shadowline opening visible.
Finishing sequence for plasterers
- Check that the rail is secure and straight.
- Check that all fixing heads sit flush.
- Confirm that the 13 mm plasterboard is fully inserted into the profile.
- Confirm that the hanging channel and underside opening are completely clear.
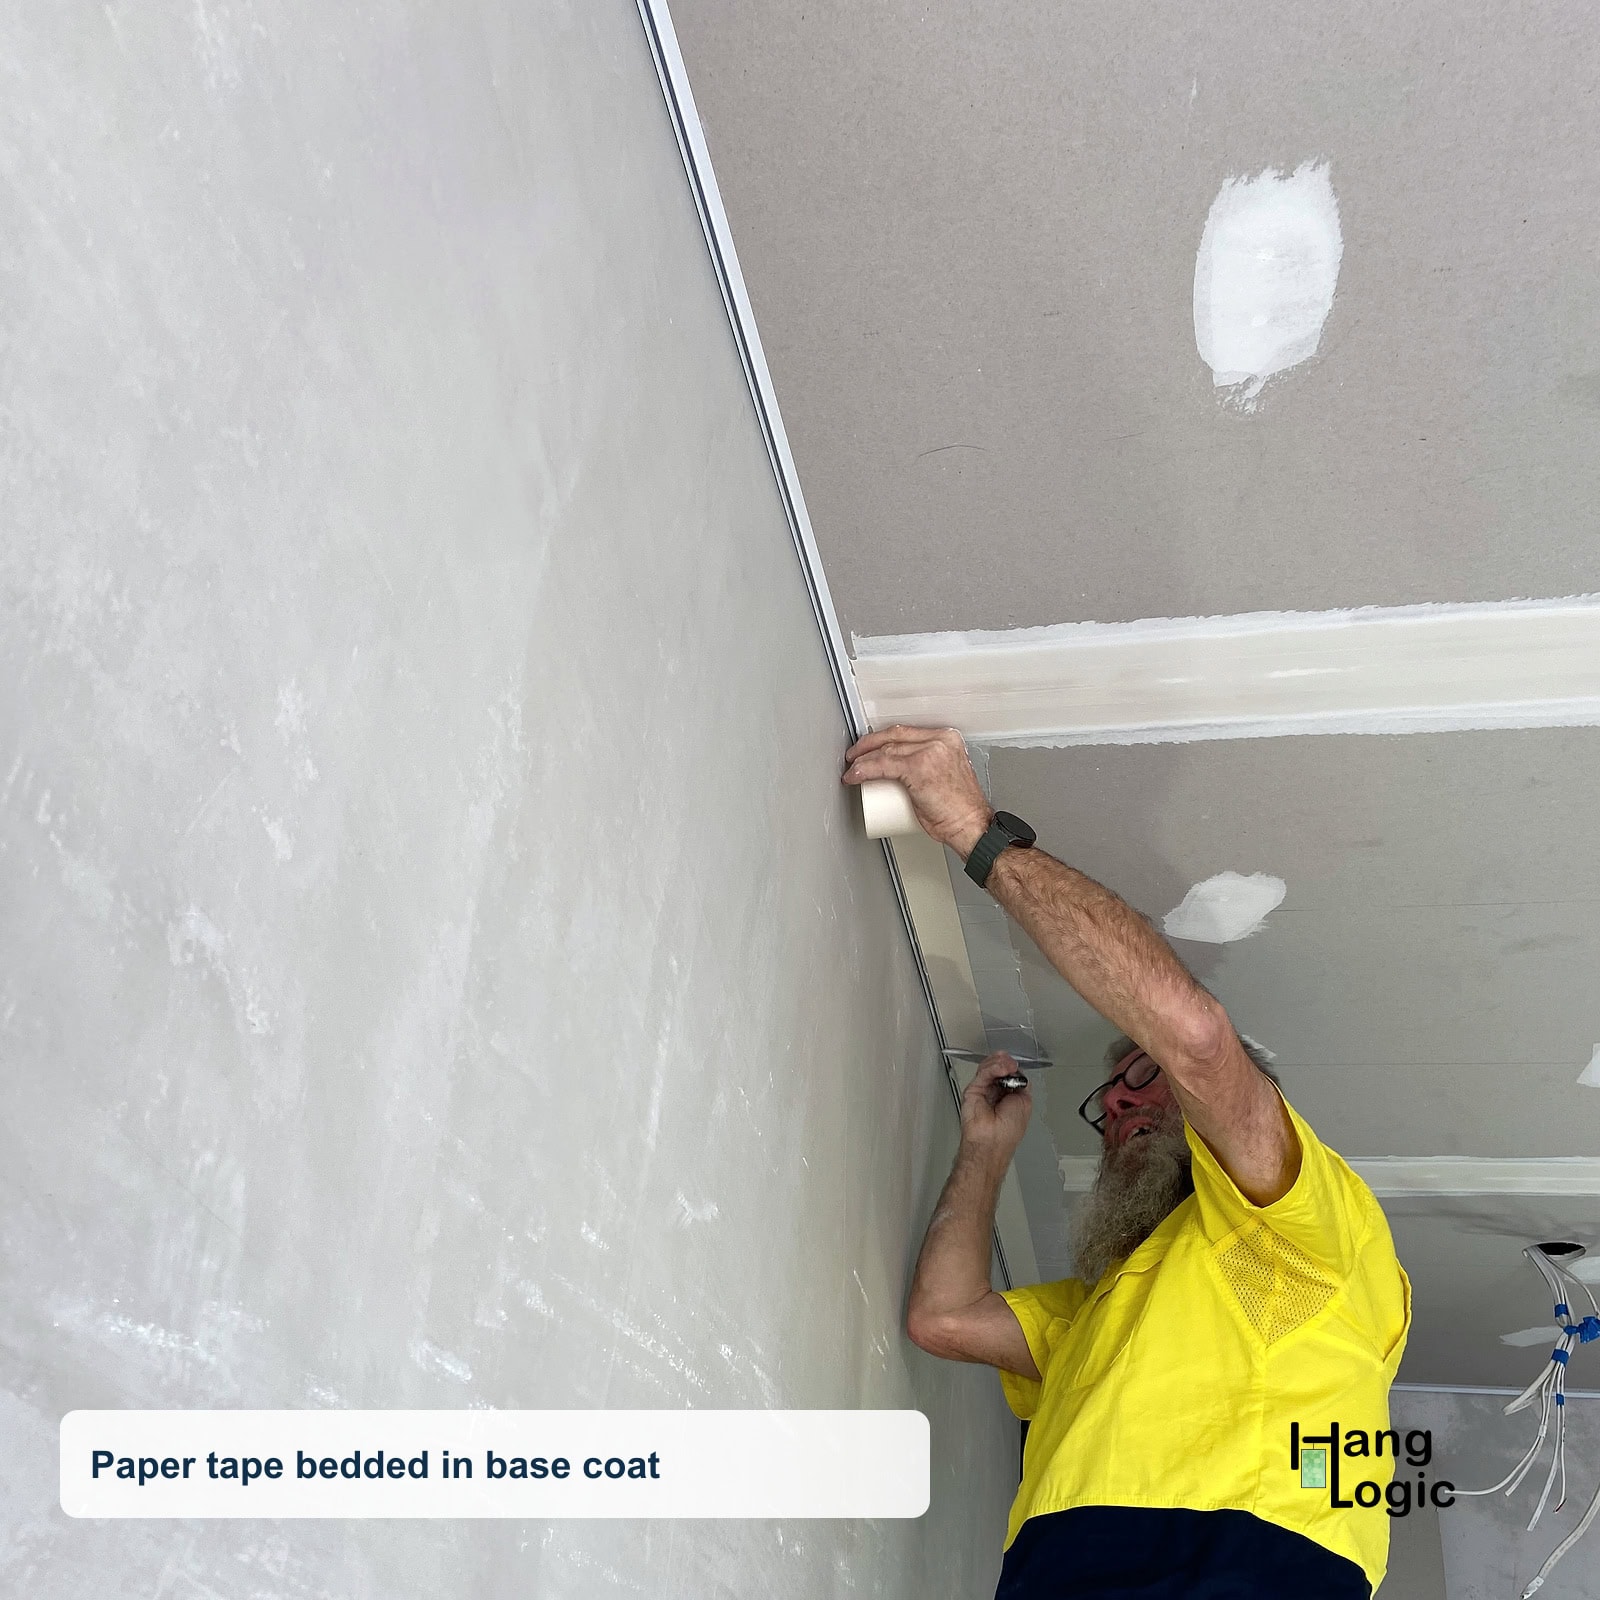
- Apply a thin base coat across the primed finishing flange and adjoining plasterboard.
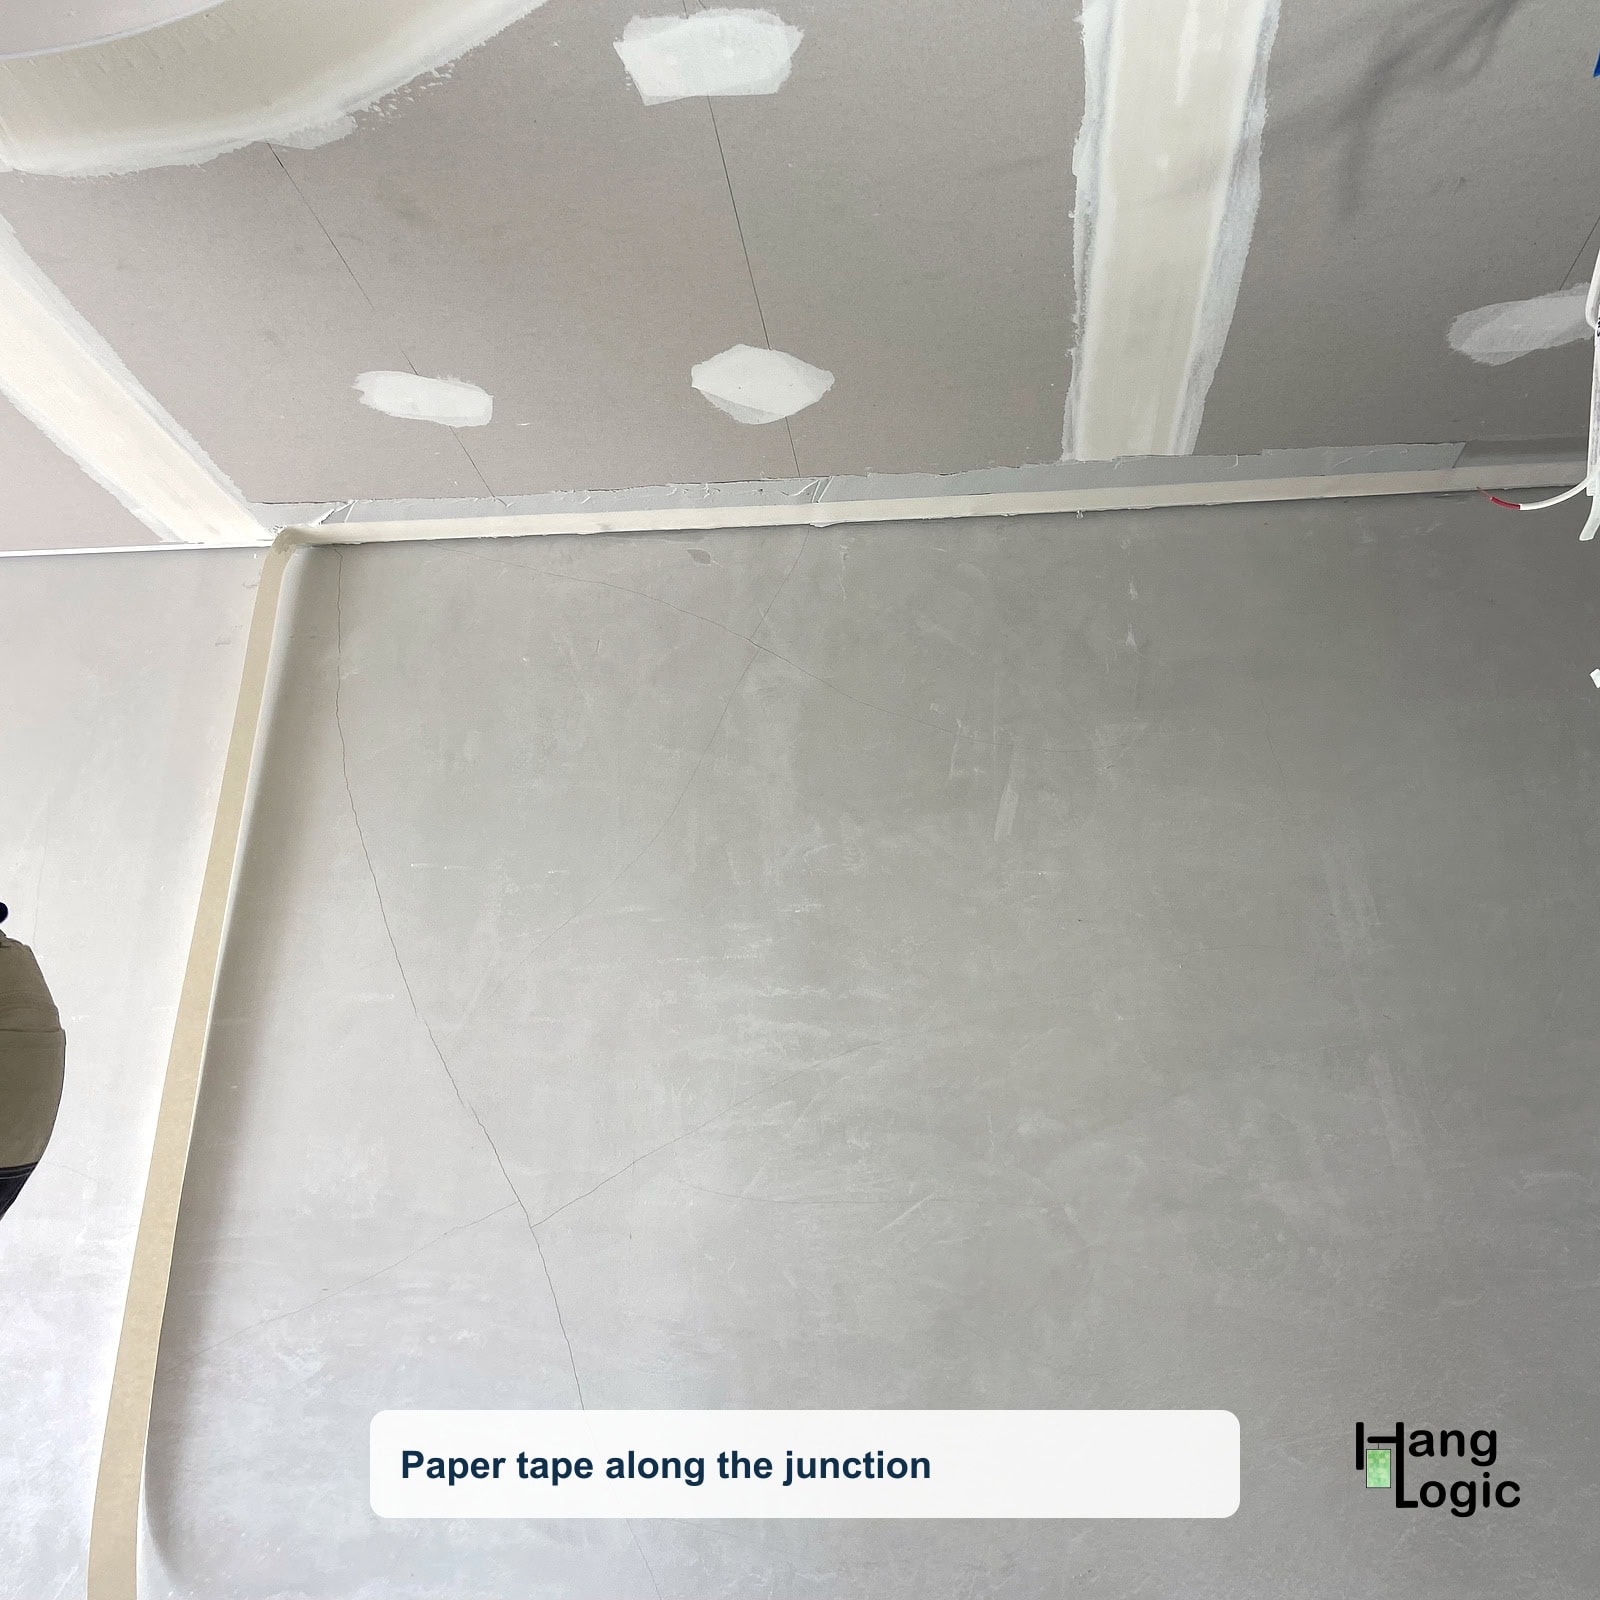
- Bed paper jointing tape across the profile-to-plasterboard junction.
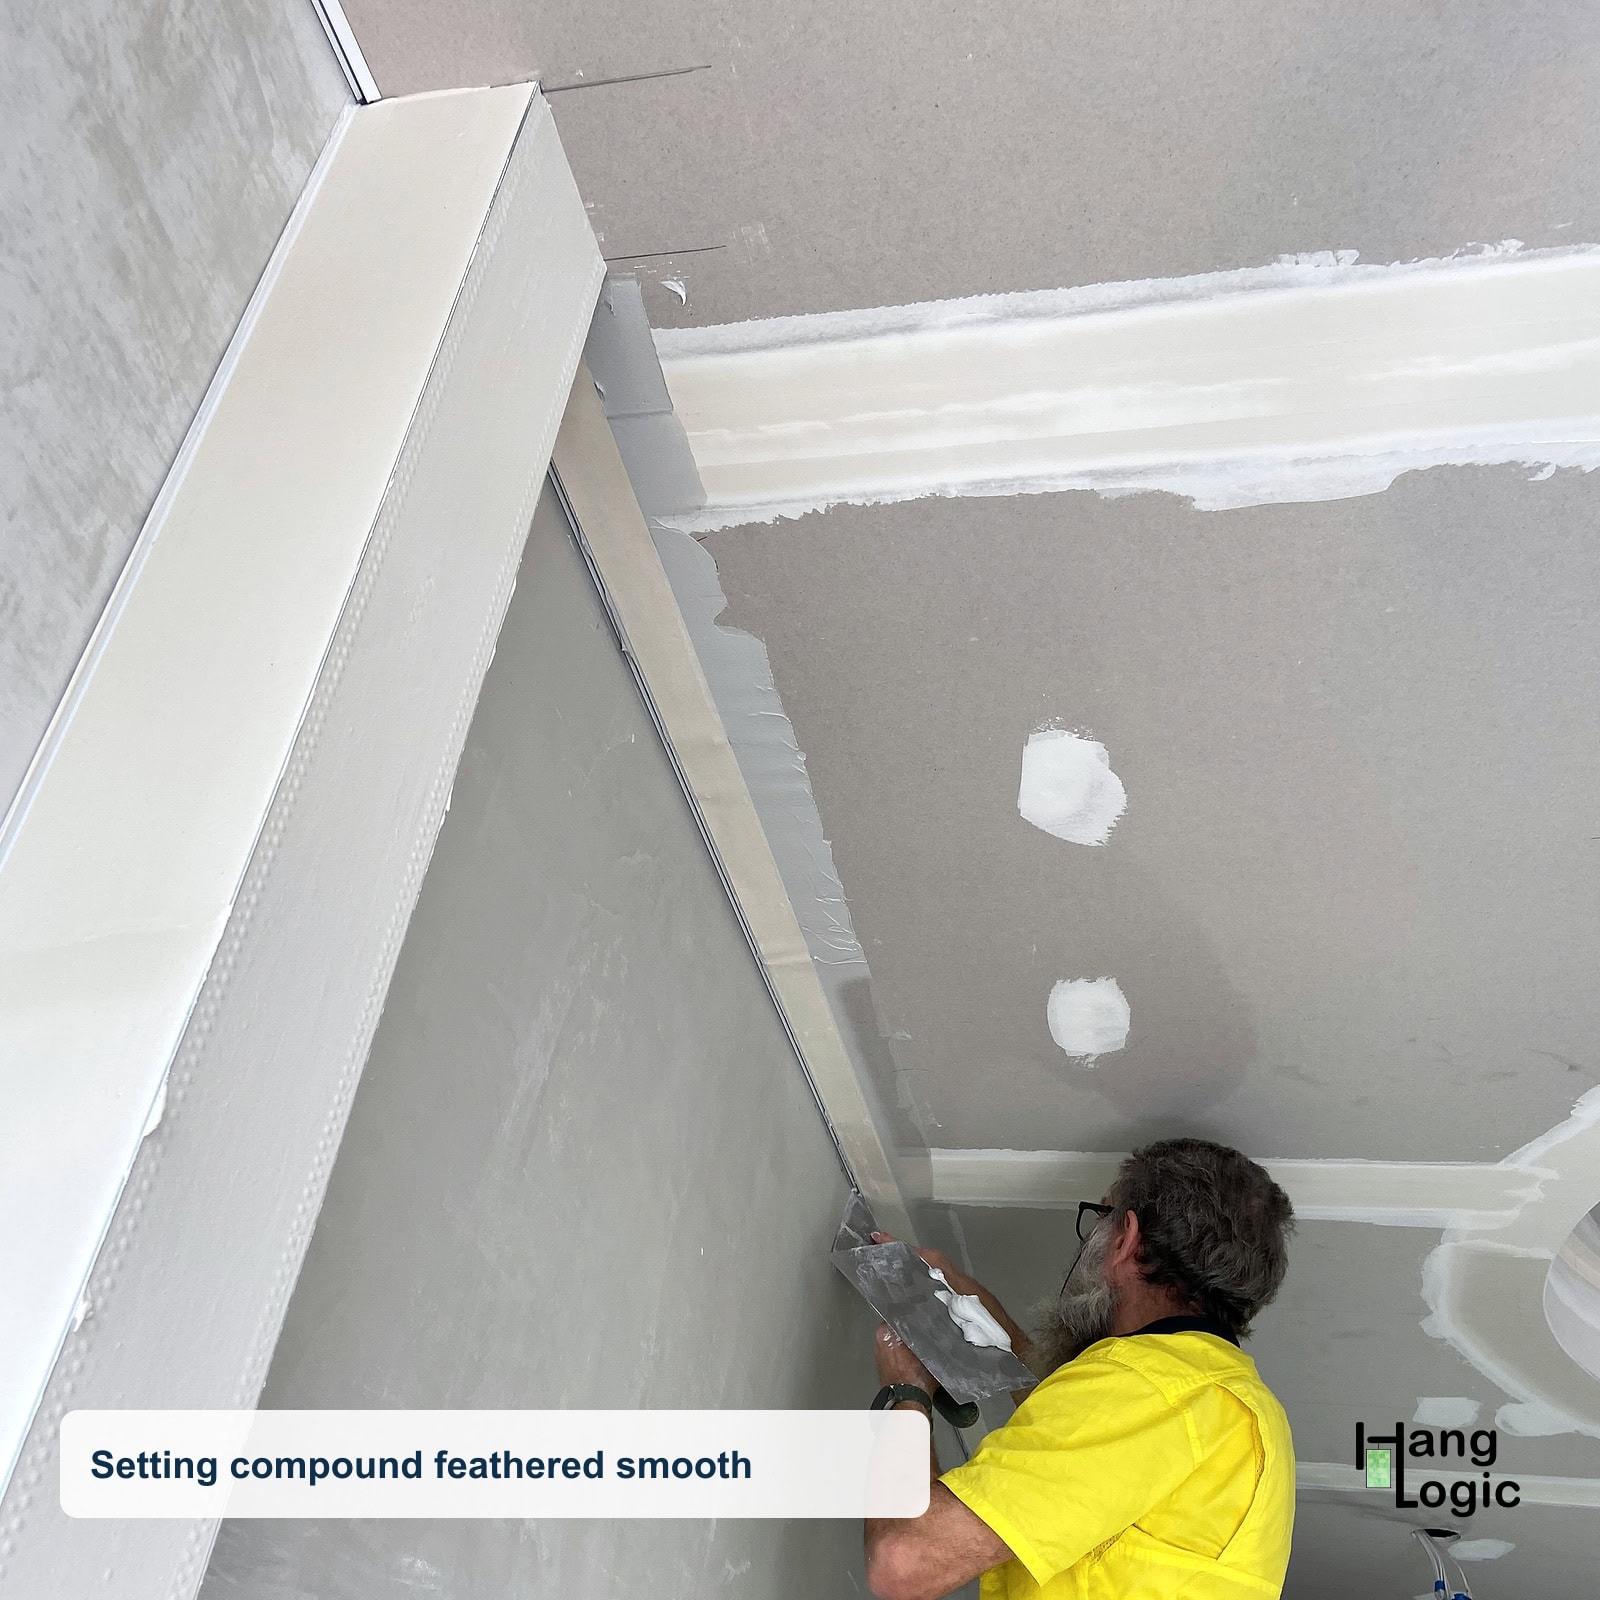
- Cover the tape with setting compound and feather it broadly across the ceiling plasterboard.
- Apply a wider finish coat and sand it smooth.
- Keep the hanging channel completely free of paper tape, base coat, setting compound, finish coat, paint and debris.
- Remove accidental compound or debris before it hardens.
What remains visible after installation?
The aluminium extrusion becomes concealed within the finished junction.
Only the narrow architectural shadowline remains visible between the wall and ceiling. The hanging wires descend through this opening and appear to come directly from the ceiling.
Can Shadowline Masonry be retrofitted?
Shadowline Masonry is intended for new construction or major renovation where the plasterboard ceiling and wall-to-ceiling junction are still being formed.
It is generally not suitable for installation into an already completed and painted junction without substantial building and plastering work.
For an existing finished room, a surface-mounted picture rail is usually more practical.
Can the rail run around corners or along only part of a room?
Yes.
Builders can mitre the aluminium rail around suitable corners or install it only along the walls where artwork will be displayed.
Plan rail joints, corner details, stopping points and plasterboard junctions before completing the ceiling lining.
Who installs it?
- The builder fixes the rail structurally to the masonry wall.
- The plasterboard installer inserts and independently fixes the ceiling sheet.
- The plasterer tapes, sets, sands and finishes the profile-to-plasterboard junction.
- The painter paints the completed ceiling while keeping the hanging channel open.
- After painting, the client or picture installer inserts the Twister wires and hooks and hangs the artwork.
Which hanging wires and hooks should I use?
ArtiTeQ Twister wires and Twister Cliq2Fix hanging wires can be inserted, removed and repositioned anywhere along the installed rail.
Clear perlon: For the most discreet hanging line
Steel wire: For a straighter, more architectural appearance
Select a compatible hook for the wire diameter and artwork weight. We recommend two wires and two hooks per artwork wherever practical, for stability and easier levelling.
How do the weight ratings work?
Shadowline Masonry carries a maximum distributed load of 20 kg per linear metre when correctly installed.
This does not automatically mean that one artwork weighing 20 kg can be hung from any single wire or hook.
The safe artwork weight also depends on:
- the masonry wall
- the structural fixings
- the hanging wire
- the hook
- the artwork fittings
- the number and spacing of hanging points
Always follow the rating of the lowest-rated component.
1 mm perlon Twister with 1 mm Micro Grip: Up to 5 kg per wire and hook set
1 mm steel Twister with 1 mm Micro Grip: Up to 10 kg per wire and hook set
2 mm steel Twister with 2 mm Micro Grip: Up to 20 kg per wire and hook set
Shadowline Masonry or Shadowline Drywall?
Choose Shadowline Masonry when the wall provides the appropriate continuous structural fixing surface and the project uses a 13 mm plasterboard ceiling.
Choose Shadowline Drywall when the builder can fix the rail securely to suitable timber or steel ceiling framing before completing the ceiling lining.
Both systems become concealed within the completed wall and ceiling junction. The principal difference is where the rail fixes structurally:
- Shadowline Masonry: wall fixed
- Shadowline Drywall: ceiling framing fixed
Why choose a built-in Shadowline rail?
A built-in rail provides a clean architectural finish without a visible surface-mounted picture rail.
Once installed, it allows artwork to be moved and rearranged without:
- drilling repeated holes into finished walls
- patching redundant picture-hook holes
- repainting whenever the display changes
- committing every artwork position before handover
The hanging system quietly remains available around the room, waiting for the artwork rather than demanding that the artwork make a lifelong commitment on moving day.
What should I confirm before ordering?
- The ceiling plasterboard is 13 mm thick.
- The wall provides a suitable masonry fixing surface.
- The rail can be installed before the ceiling junction is completed.
- The required total rail length has been measured.
- Internal and external corner details have been planned.
- Rail joints and stopping points have been considered.
- The builder, plasterboard installer and plasterer understand the installation sequence.
For unusual junctions, fire-rated construction, bulkheads, curved walls or other non-standard details, send Hang Logic the plans or sectional drawings before installation.
Related information
Rail Installation Video

Rails are just the beginning. To hang your pictures you'll also need wires and hooks.
Step 1. Choose your hanging wire - the invisible hand of a well‑hung masterpiece
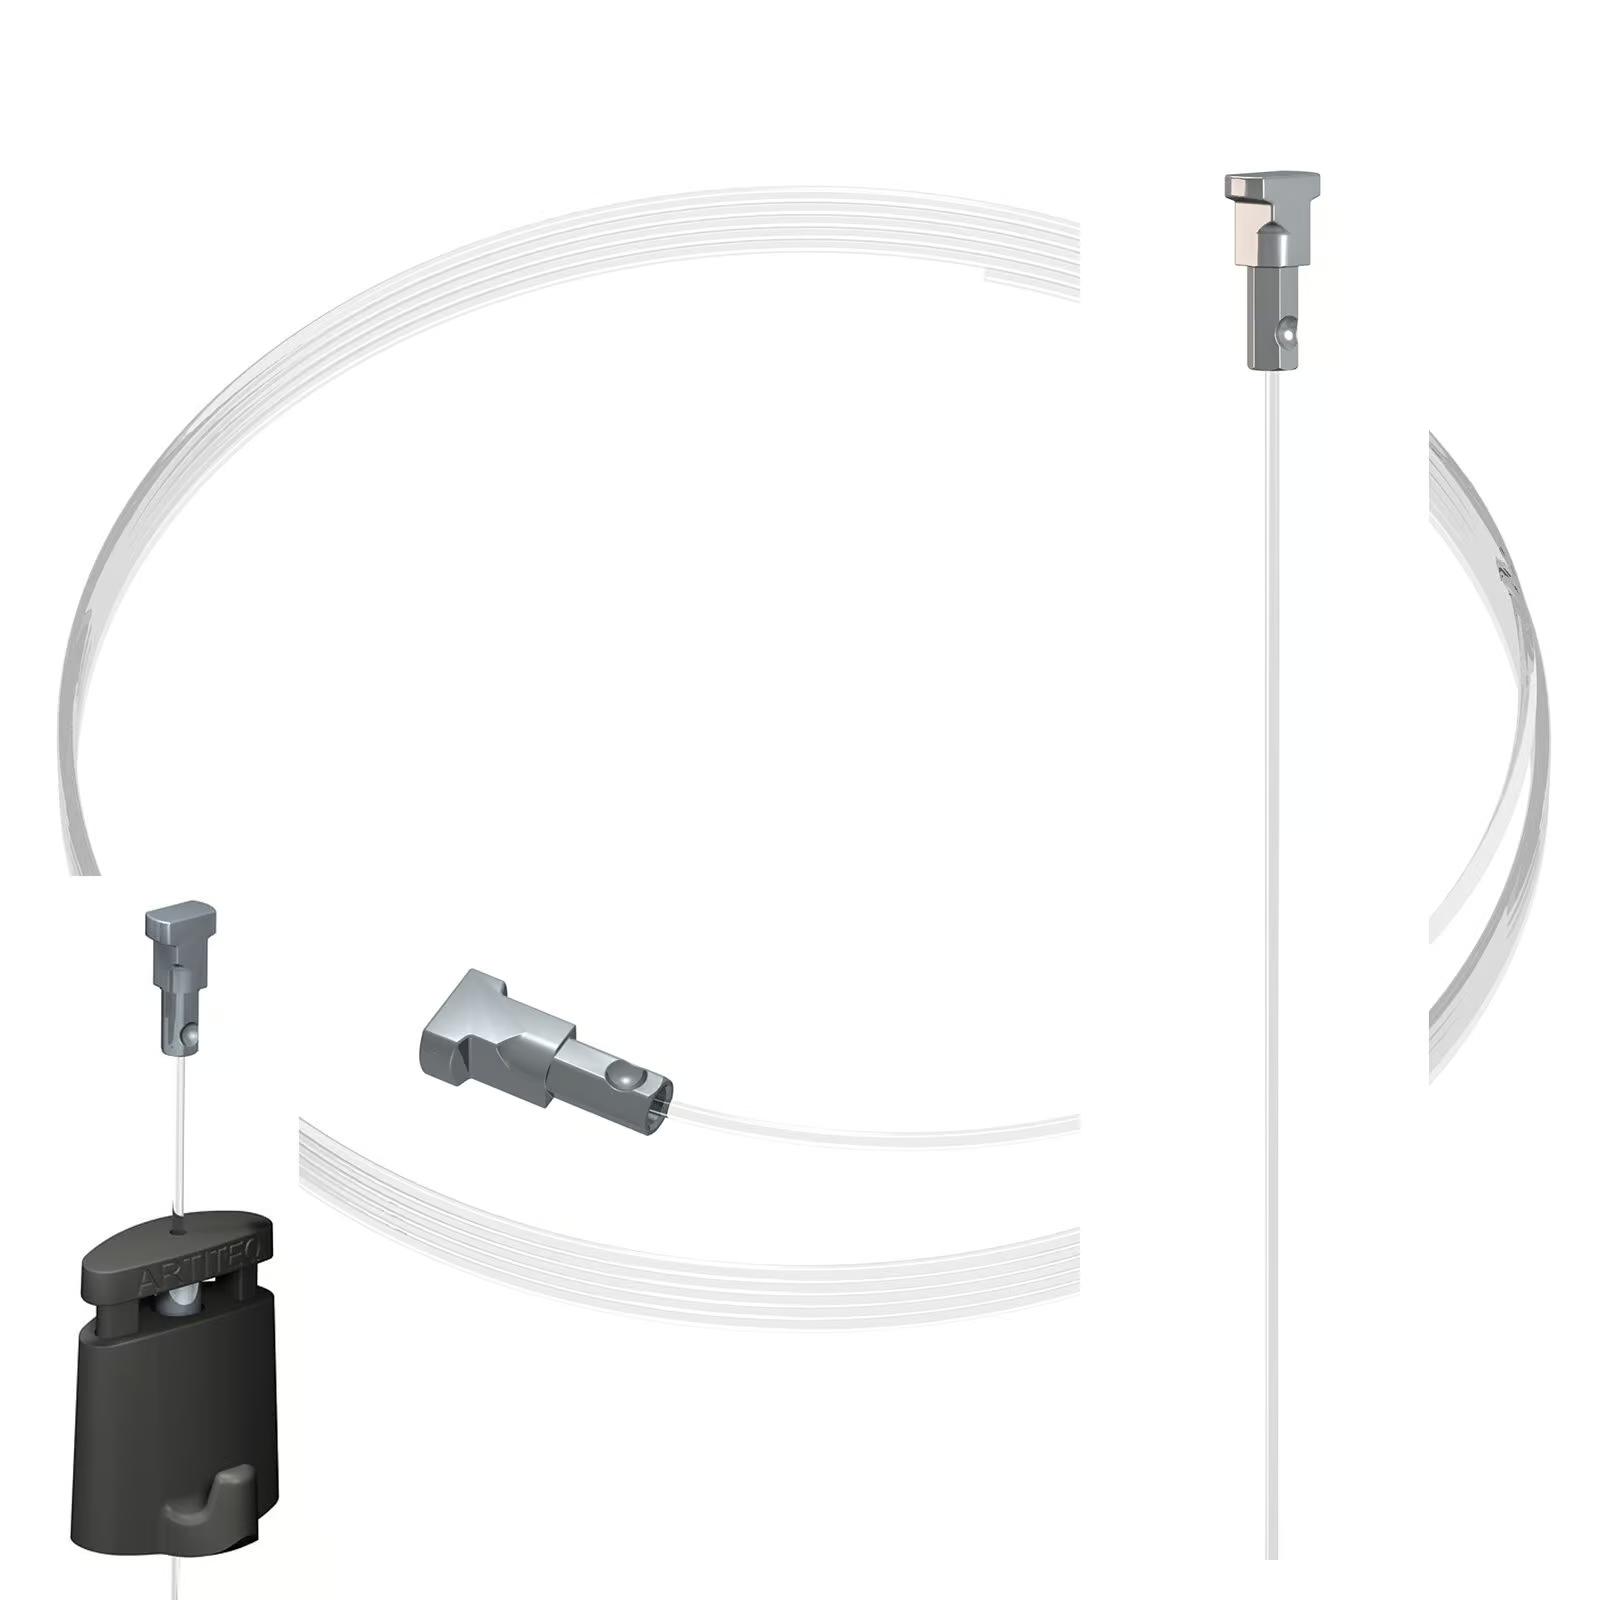
Twister 1 mm Hanging Wires / Dropper Cables
Price range: $6.25 through $15.69Twists in anywhere - slim and subtle for lightweights
Select options
This product has multiple variants. The options may be chosen on the product page
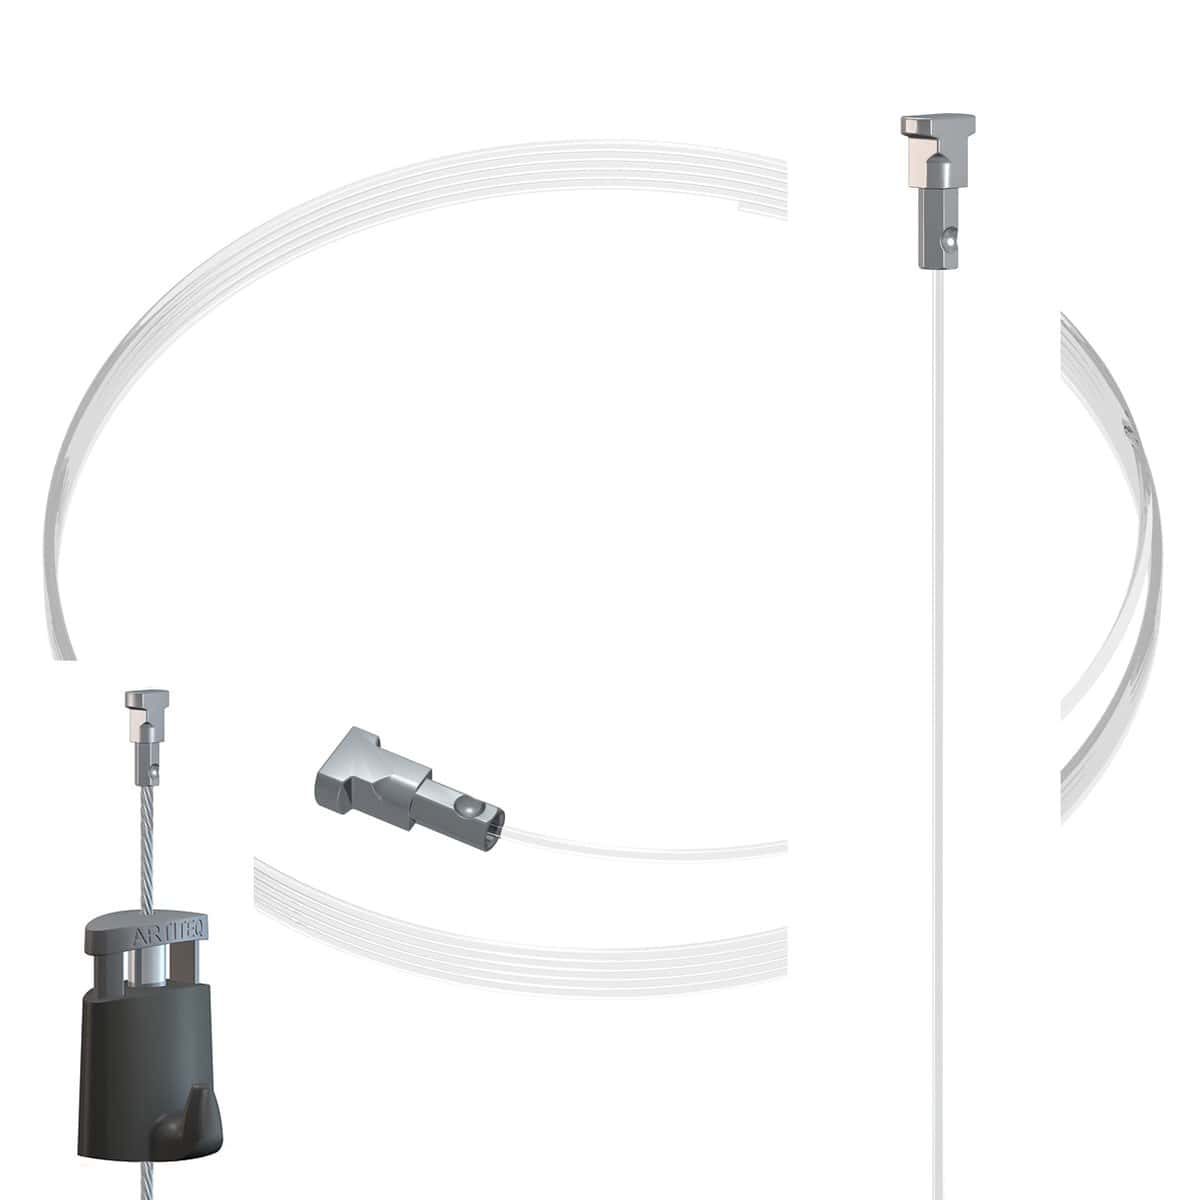
Twister 2 mm Hanging Wires / Dropper Cables
Price range: $6.05 through $34.12Twists in anywhere - extra strength, same stealth
Select options
This product has multiple variants. The options may be chosen on the product page
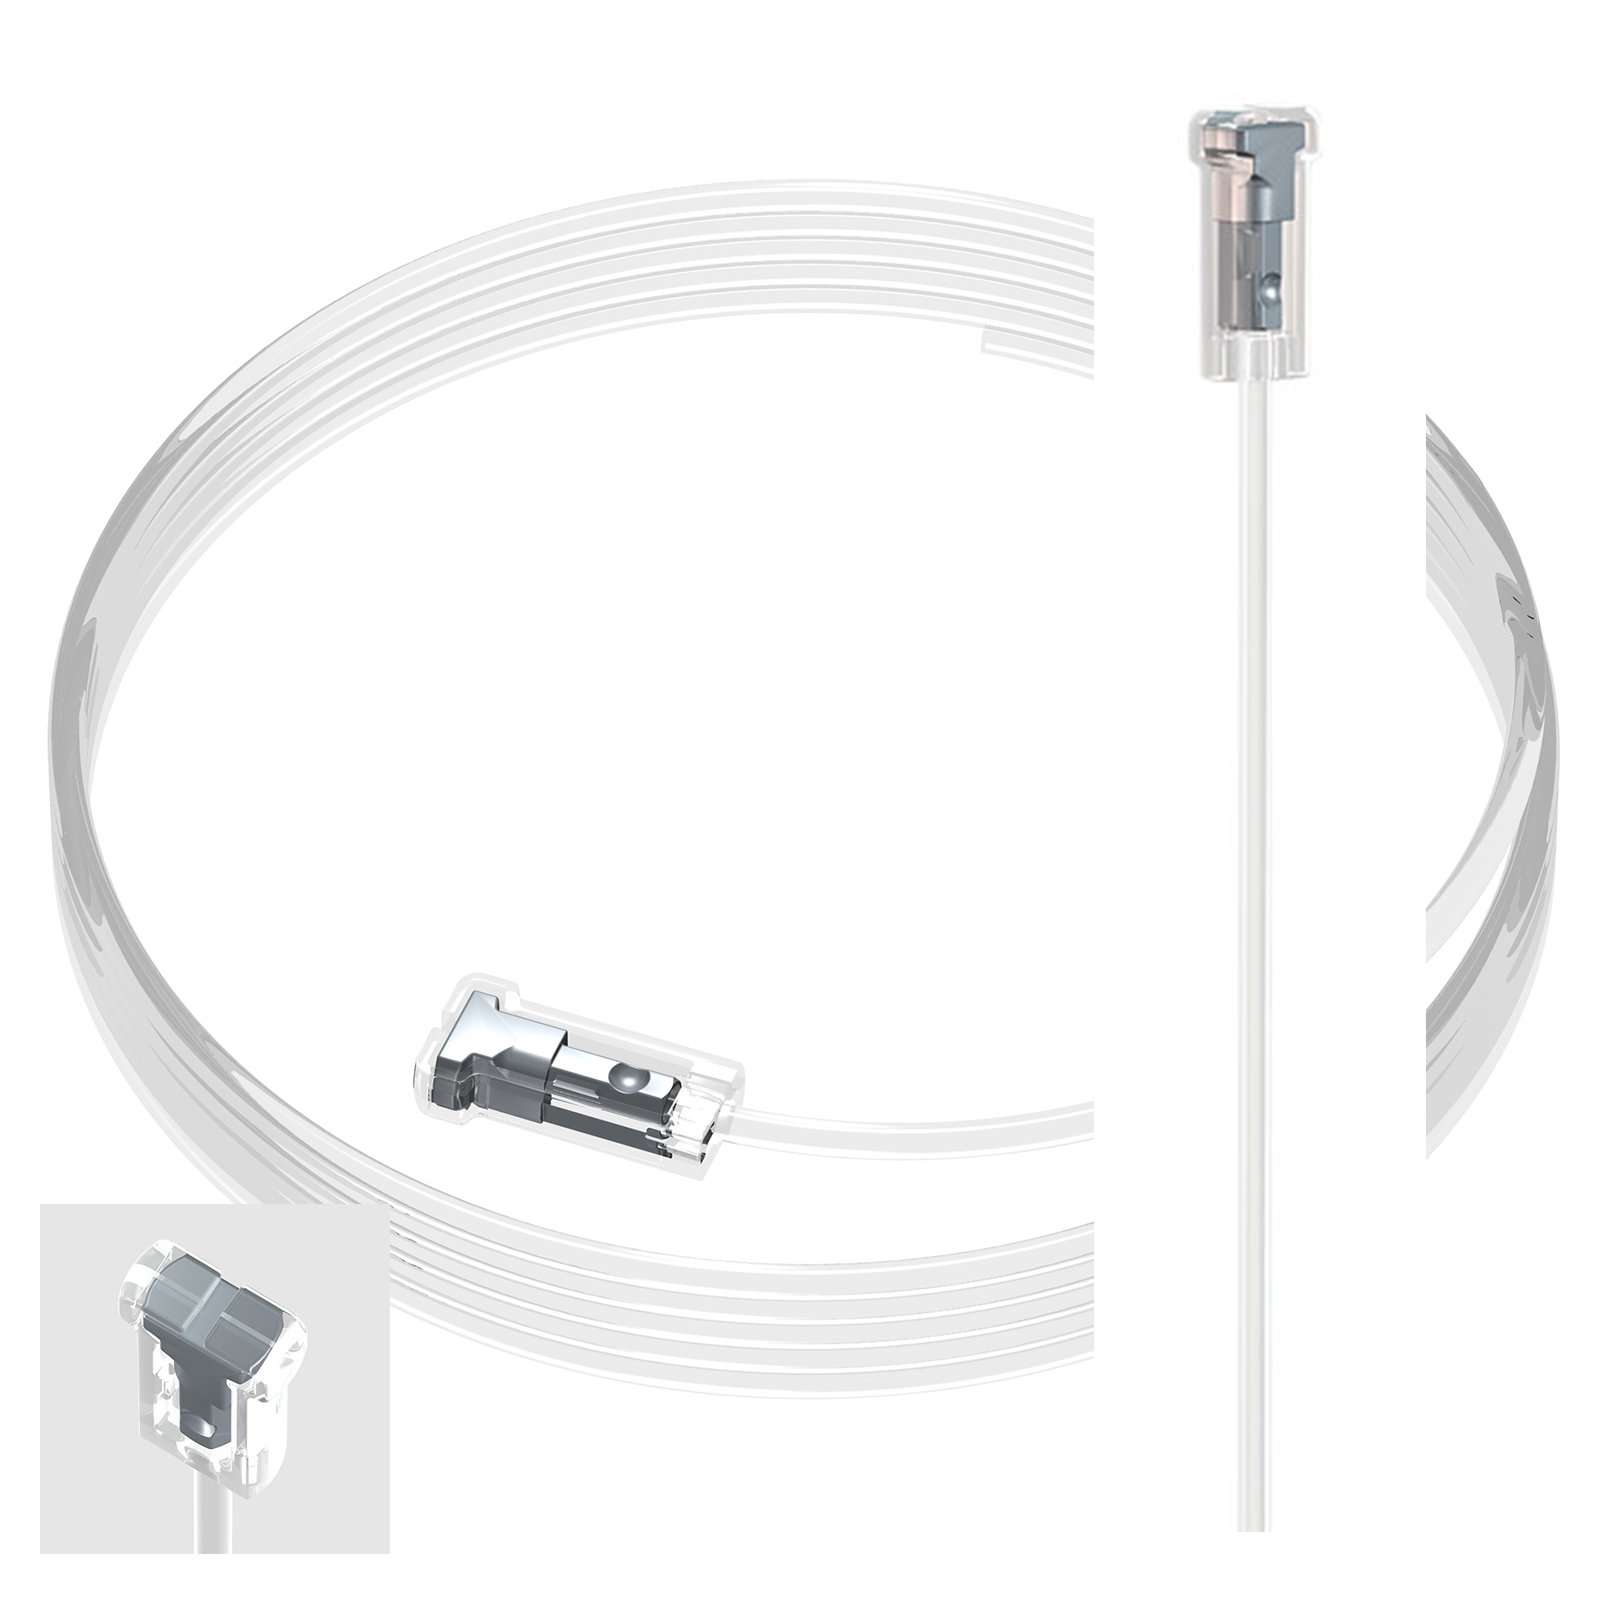
Twister Cliq2Fix 2 mm Perlon
Price range: $7.82 through $12.86Twist in anywhere - with extra click-in hold
Select options
This product has multiple variants. The options may be chosen on the product page
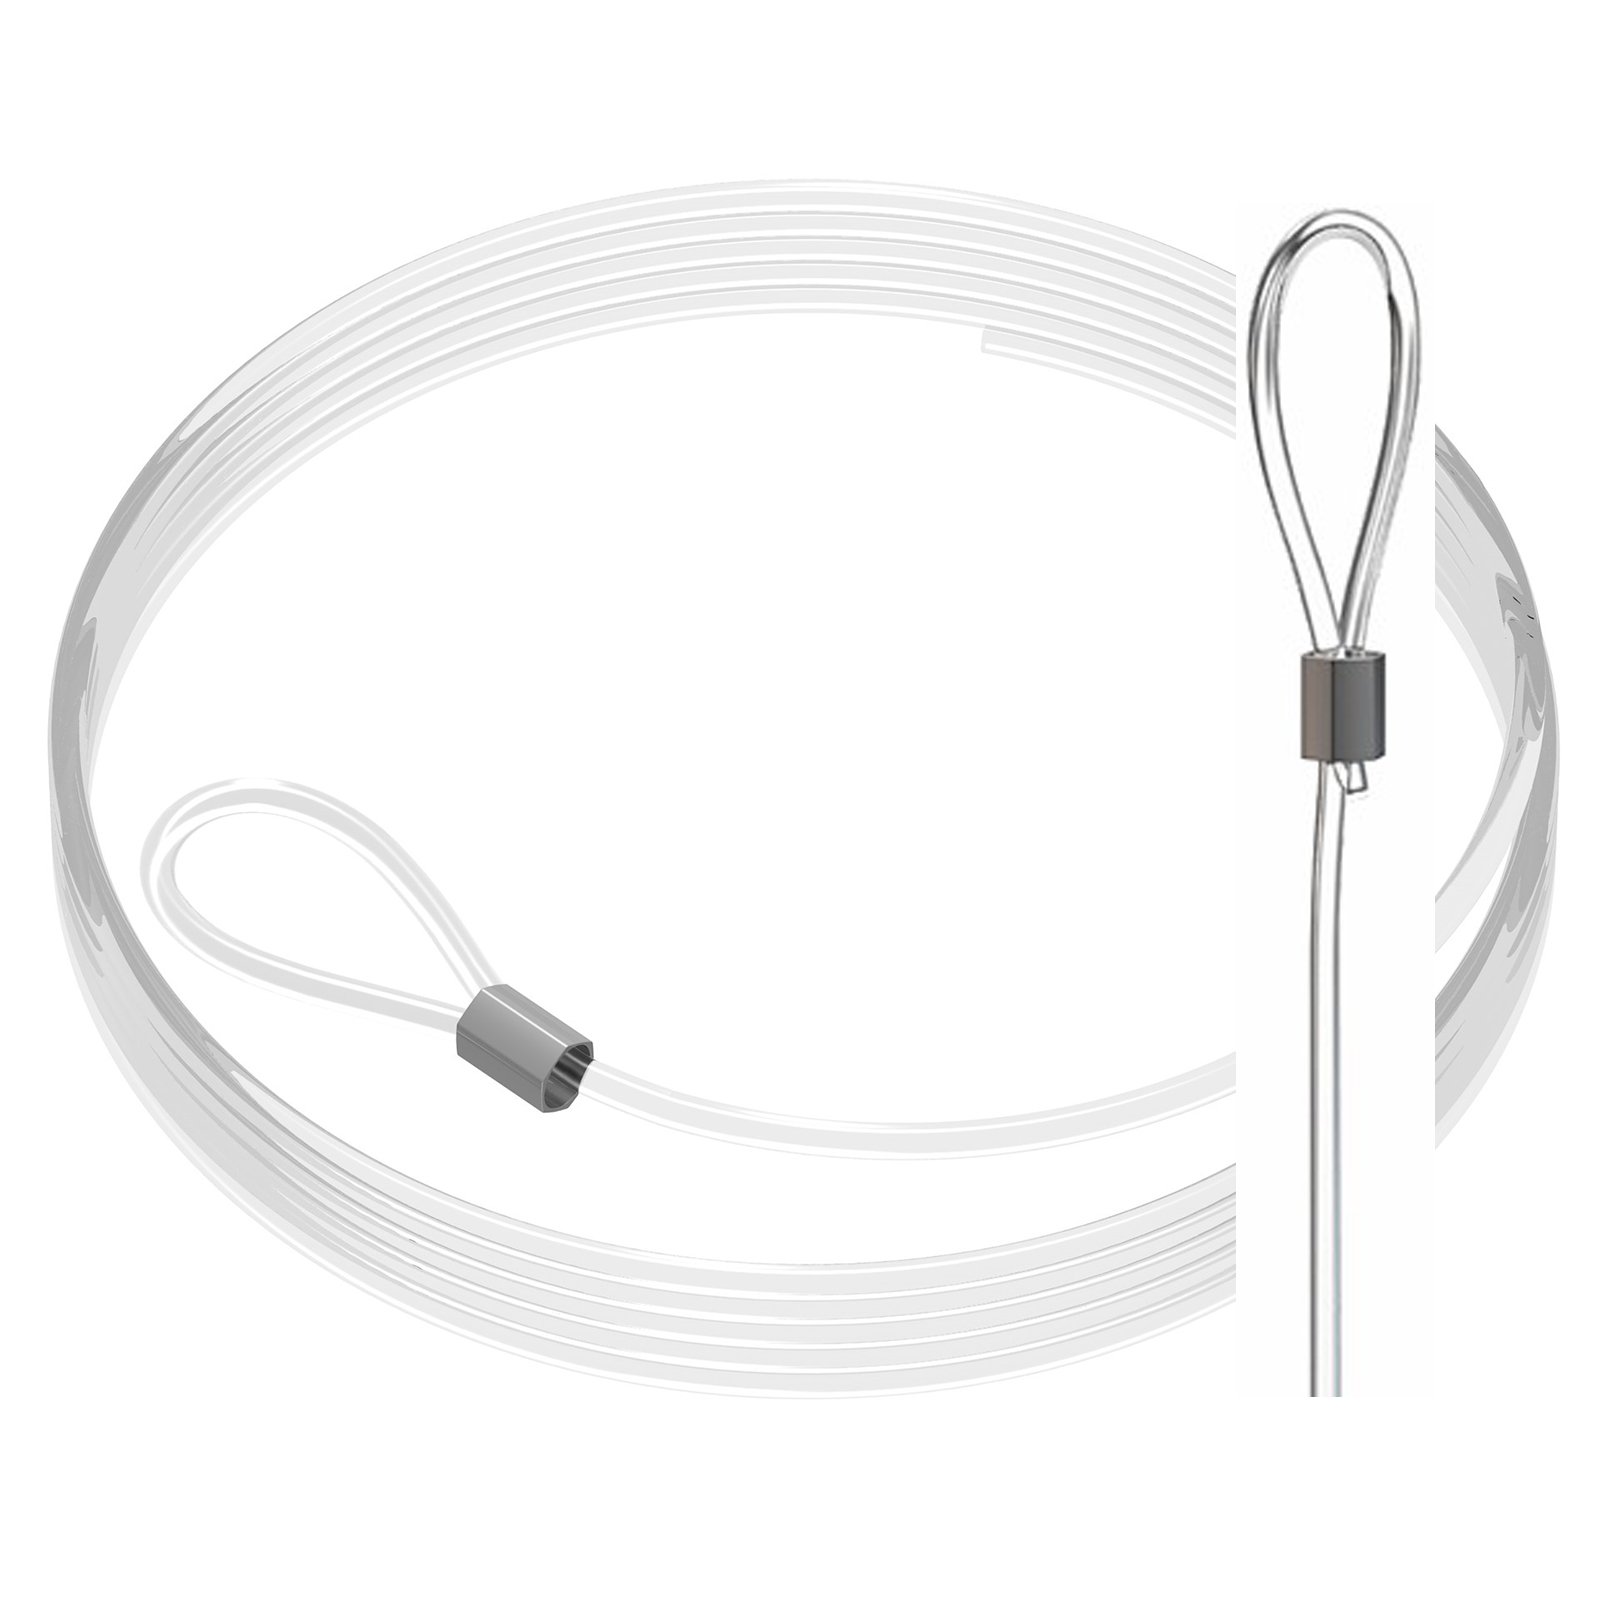
Perlon + Loop 2 mm
Price range: $4.60 through $6.31Pre-looped - just slip it on
Select options
This product has multiple variants. The options may be chosen on the product page

Solid Slider 2 mm Dropper Cable
Price range: $5.10 through $32.42Slides in from the side - suit fixed display
Select options
This product has multiple variants. The options may be chosen on the product page
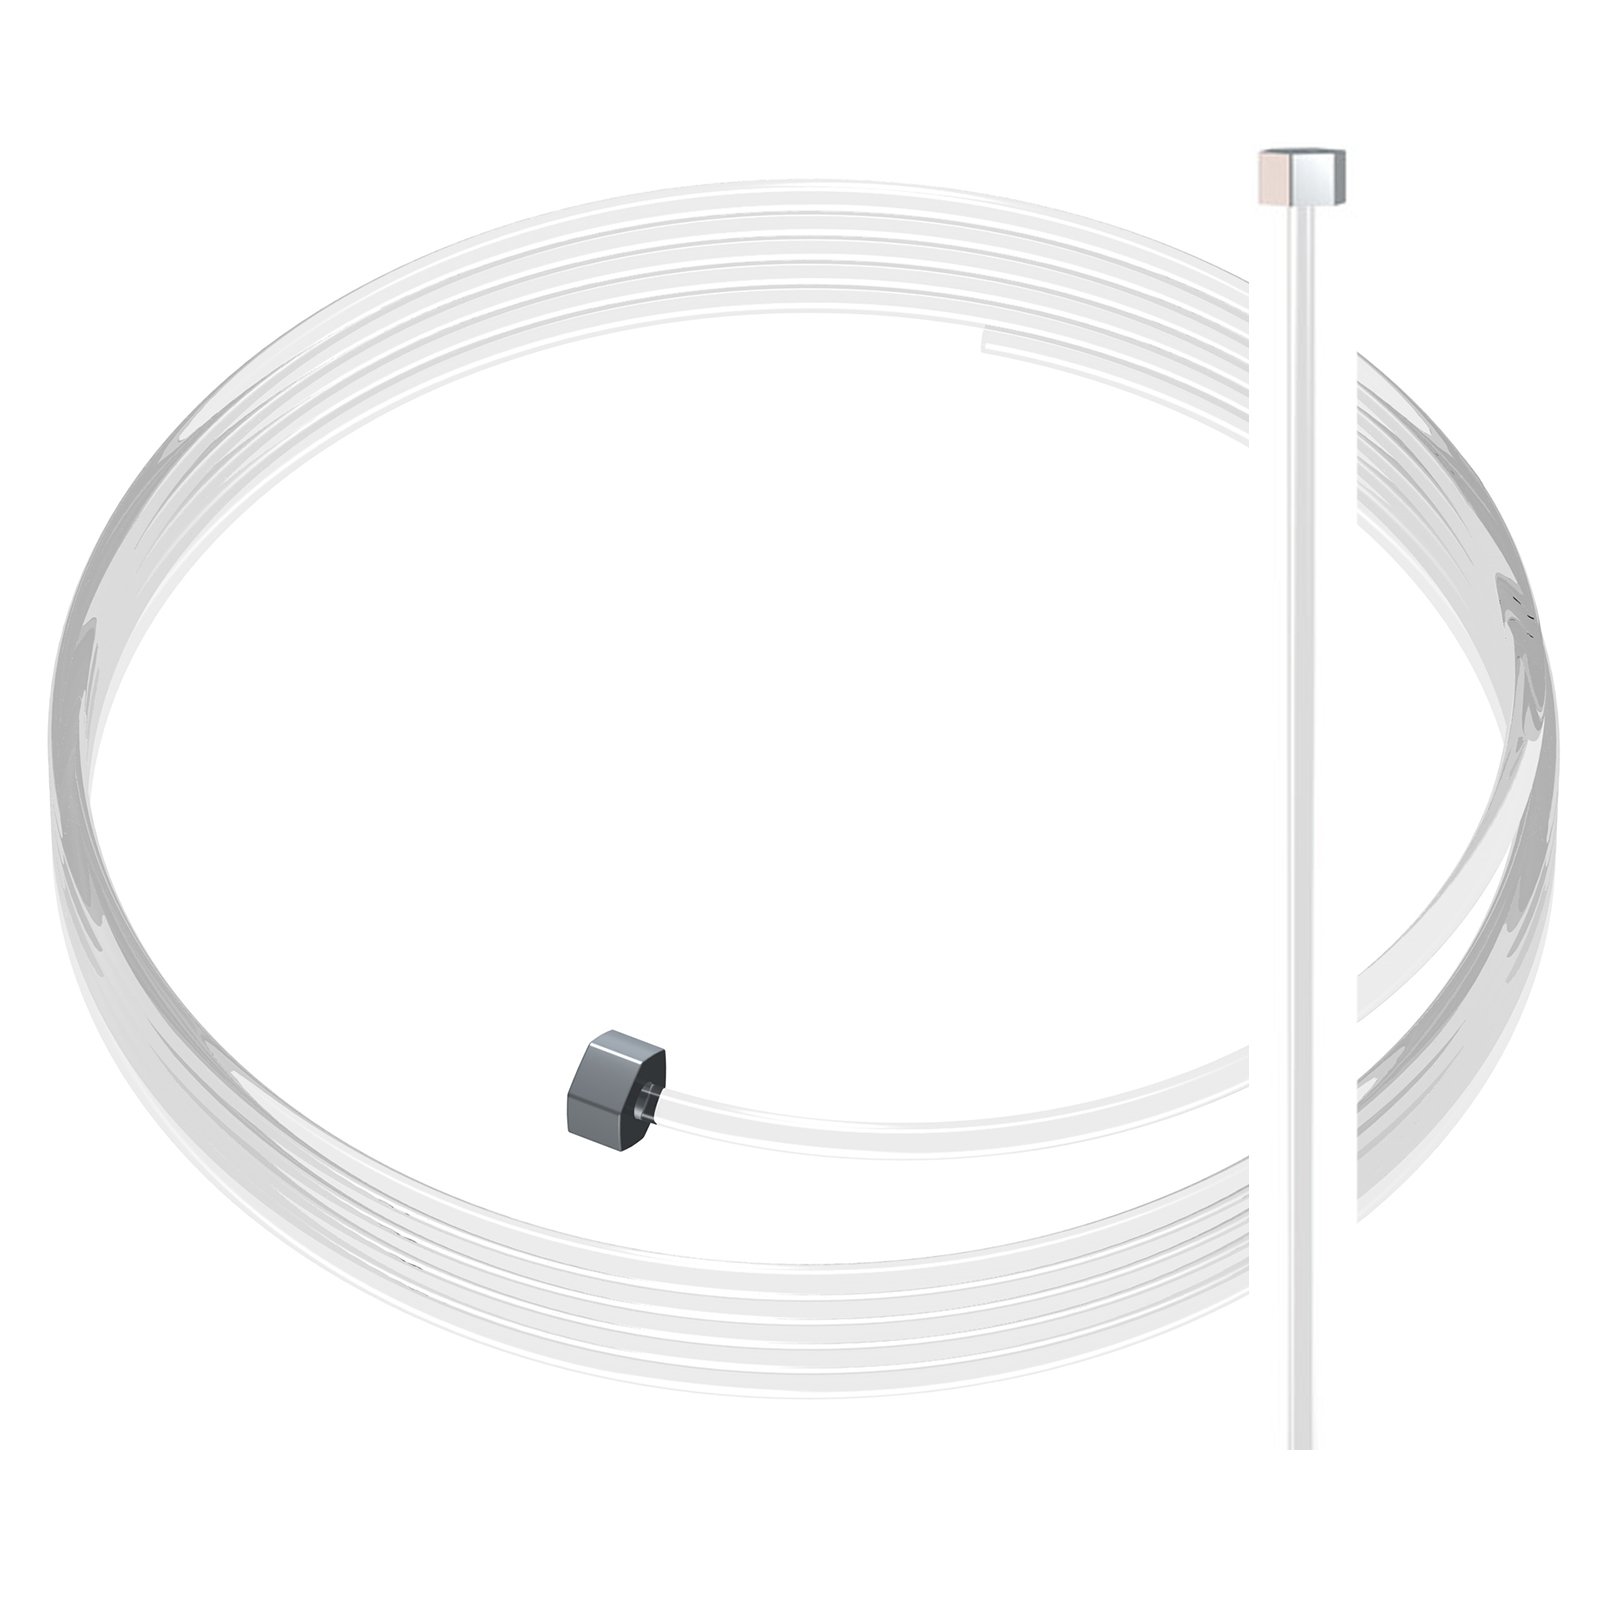
Slider Economy 2mm Perlon Cable Line
Price range: $3.43 through $4.71Budget side-loader - not for serial re-hangers
Select options
This product has multiple variants. The options may be chosen on the product page
Step 2. Pick your hook - the clinch that seals the deal
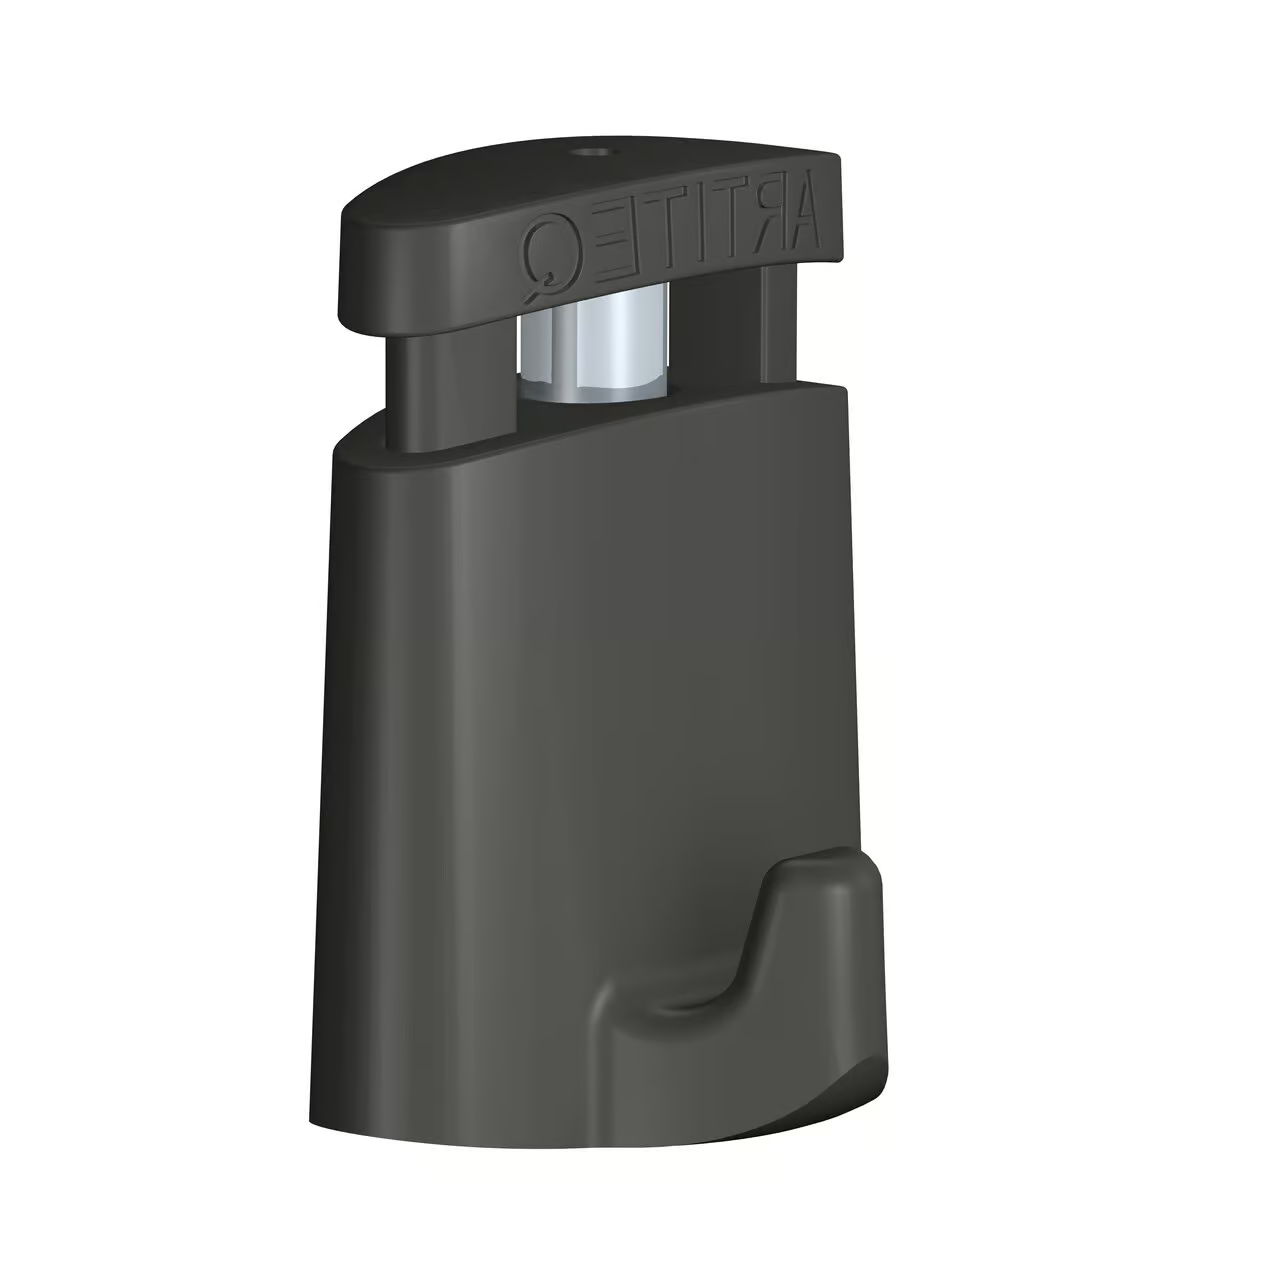


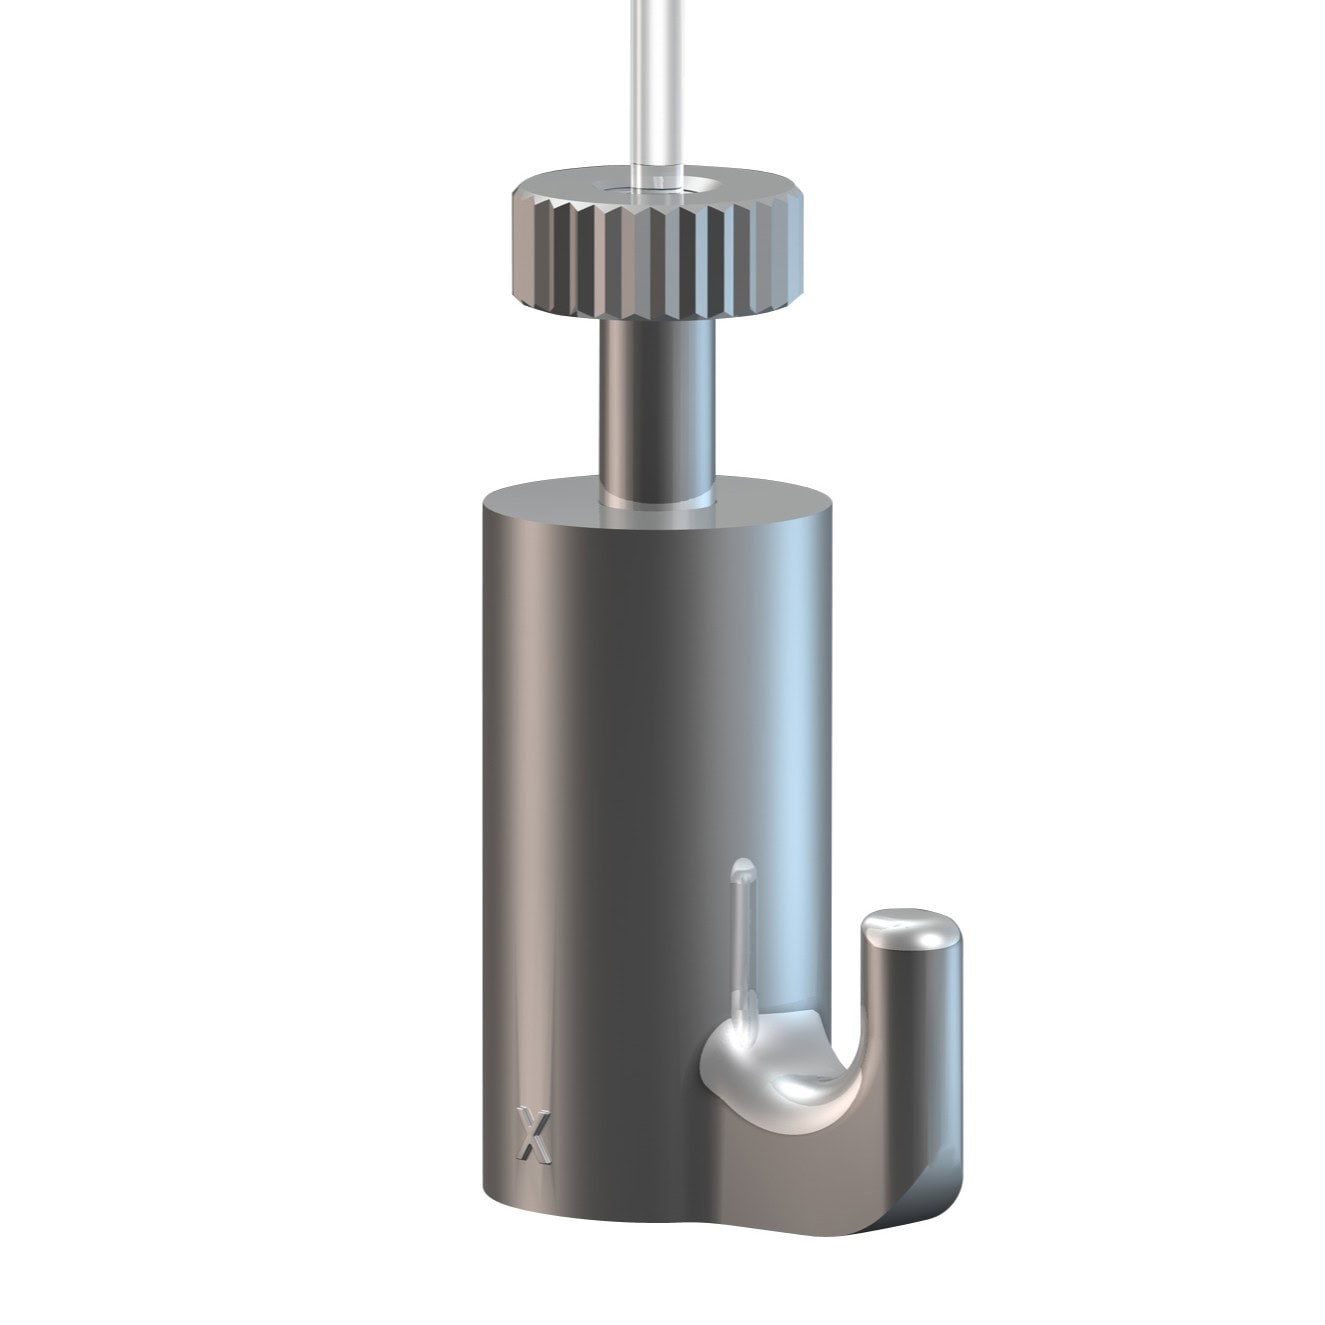
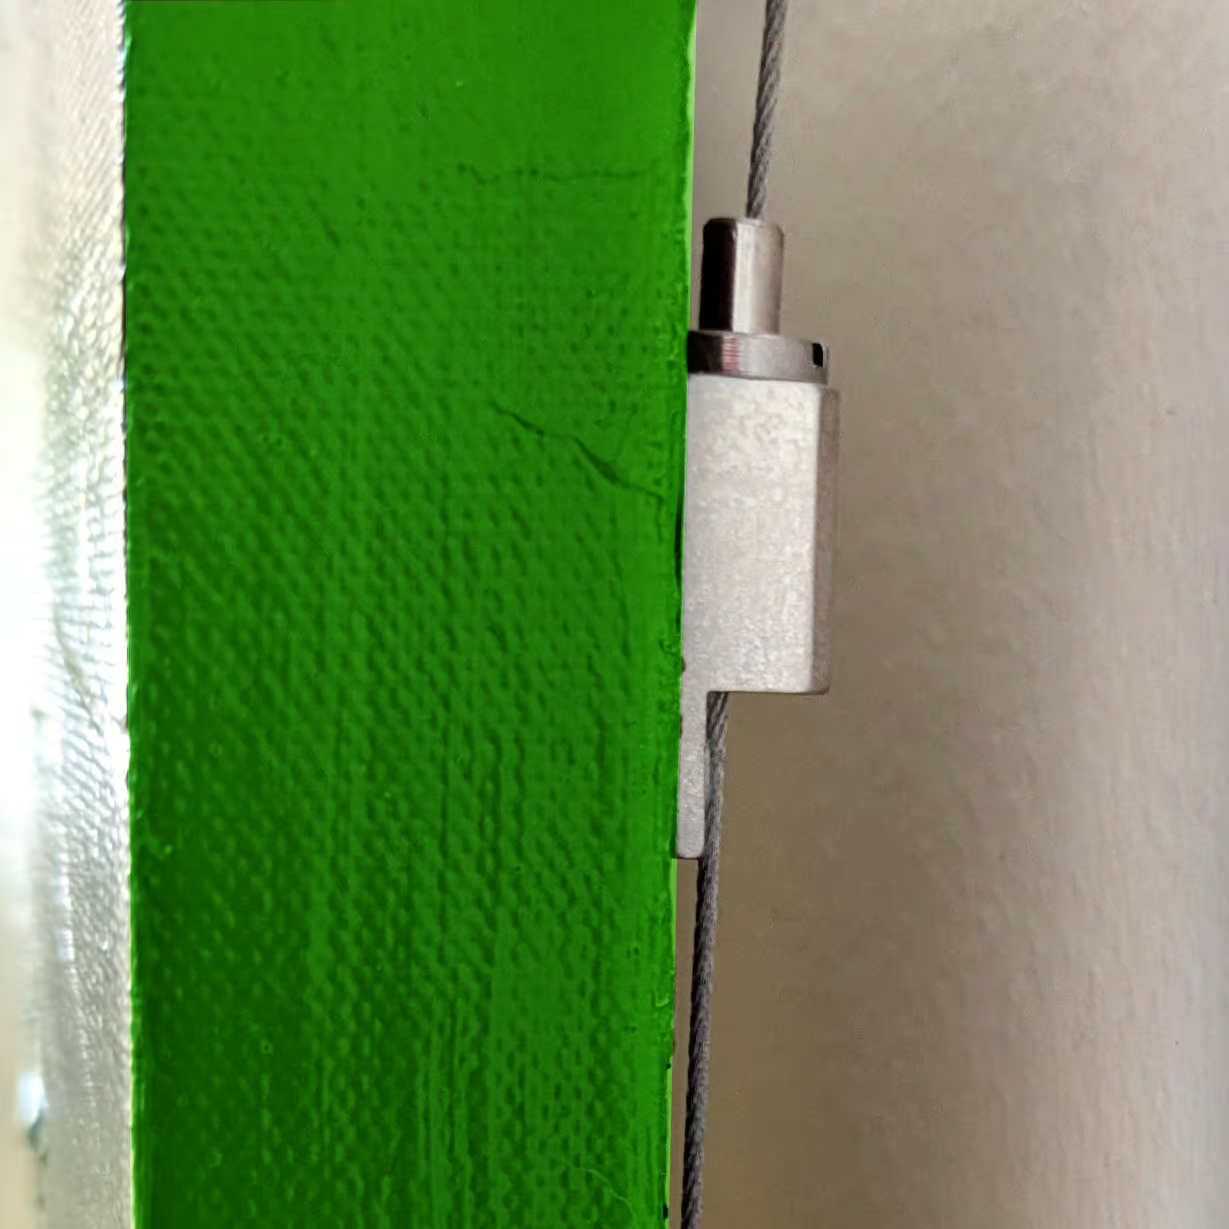
Frame Hanger
Price range: $8.87 through $10.19Frame-mounted, auto-locking - less forward tilt
Select options
This product has multiple variants. The options may be chosen on the product page
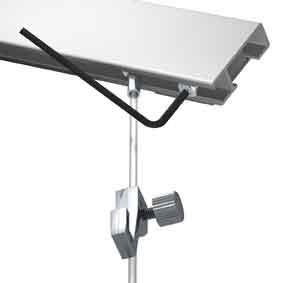

Gallery Hook
$2.07Slips over timber rails – the old-school way
Select options
This product has multiple variants. The options may be chosen on the product page

Wall Hook
Price range: $1.11 through $1.80For top edges - partitions, panels, or nib walls.
Select options
This product has multiple variants. The options may be chosen on the product page

Hang Logic Google Reviews
Preferred worldwide by builders, architects, and professionals.


some of Our CLIENTs

VIC - The Lume Melbourne

NSW - German International School

QLD - Brisbane Convention and Exhibition Centre

ACT- Adina Hotel Canberra

WA - WA Maritime Museum

SA - Adelaide Festival Centre
Show More Clients

Hassel Architects

COX Architects

ICON Constructions

Hilton Hotel

Shape Australia

Hansen Yuncken
Albany Entertainment Centre

Adelaide Oval

The University of Adelaide

Green Industries SA

Beach Energy

Naval Group

Finnlaysons Lawyers

Starcom

Bluethumb

St. Andrew Hospital

SA Police Academy

ANZ Bank

State Library Queensland
Related products


Wall Hook
Price range: $1.11 through $1.80For top edges - partitions, panels, or nib walls.
Select options
This product has multiple variants. The options may be chosen on the product page

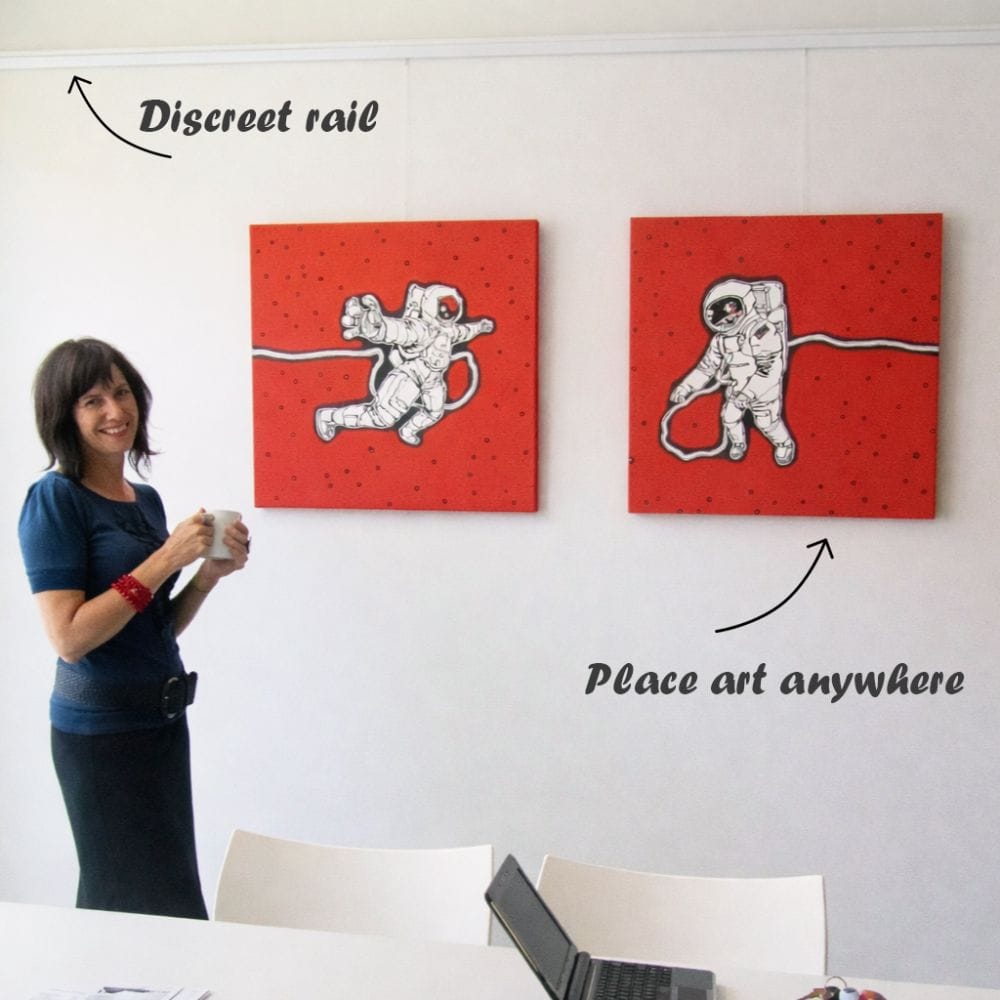
Click Rail Picture Rail Includes Free Mounting Kit (Save up to $14.31)
Price range: $25.58 through $91.77Slimline picture rail | 10 year warranty | 30 kg/m
Select options
This product has multiple variants. The options may be chosen on the product page
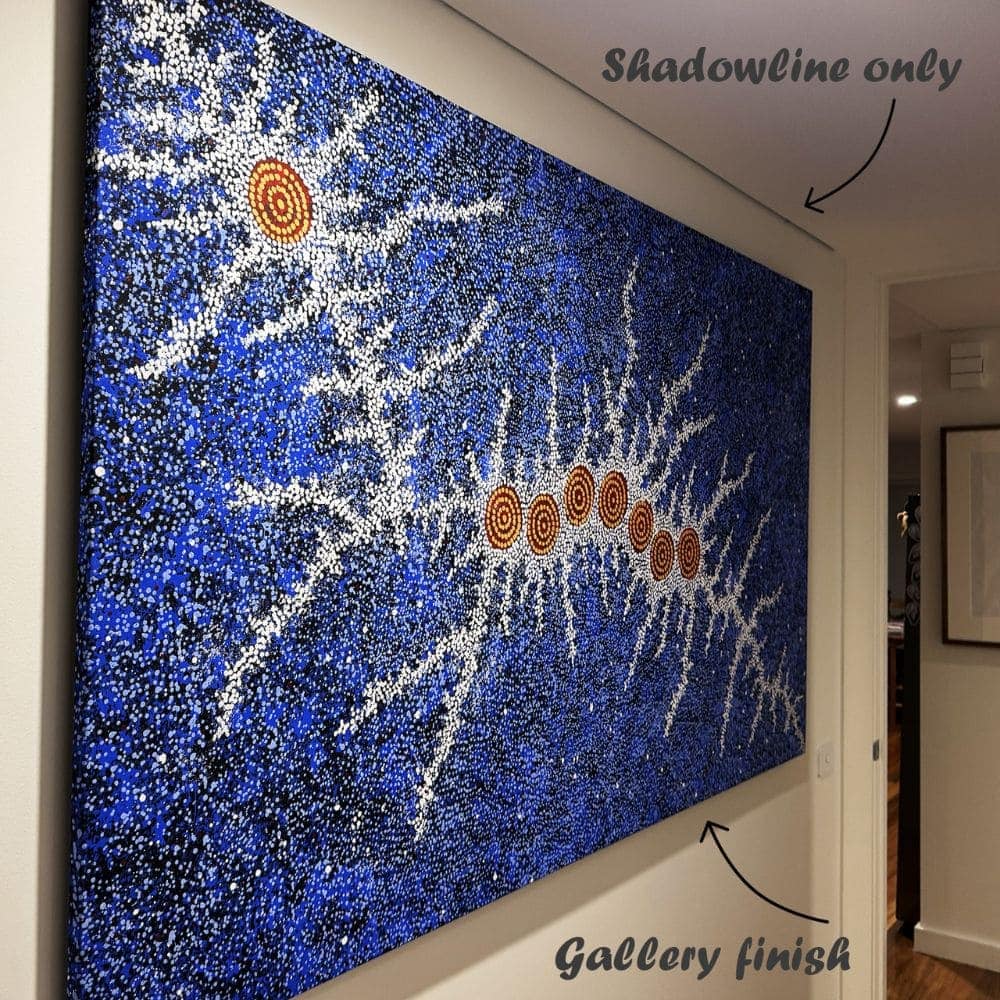
Shadowline Drywall Picture Rail
Price range: $61.52 through $63.33Invisible rail in ceiling shadow gap
Select options
This product has multiple variants. The options may be chosen on the product page

Click Rail 3 meters (2 mm Perlon Wires)
Price range: $141.42 through $142.273 m picture rail kit | 20-40 kg (1-2)
Select options
This product has multiple variants. The options may be chosen on the product page