How To Hang Art from High Ceilings: Tips from Our Art Installer

Introduction:
A stairwell or a corridor with high ceilings is often a blank space to walk through. The addition of art will make these spaces more attractive and less of a neglected place in your home. Hanging art in the staircases is an excellent opportunity to make the transition between floors a more exciting experience, however, high ceilings can be daunting to deal with. We have asked Aaron, one of our art installers to come up with some ideas for hanging art from high ceilings.
“Yes, hanging art from high ceilings can be daunting but honestly, planning is key in these sort of jobs” says Aaron.
“After 10 years, I had my place completely renovated. We had all the walls repainted and it was time to review what was out there, and we took our time to look at everything. Your art really needs to reflect your personal style. It has to reflect you and where you’ve been in life. For example, in my place, it is a mix of artists”.
Aaron suggests: “As humans, we’re constantly evolving, so of course our art will evolve as well. It makes perfect sense. At some point, you may want to replace your art, and for example substitute the old pieces with something new that better reflects the person you have become. Additionally, overtime you may notice that some spots in your house may change and become more appropriate than others to display your art. The way a piece of artwork impacts on your emotions can change depending on the room where it is displayed.

But how to make this possible, without risking damaging your walls? Keep reading, you’ll be surprised how easy this actually is!

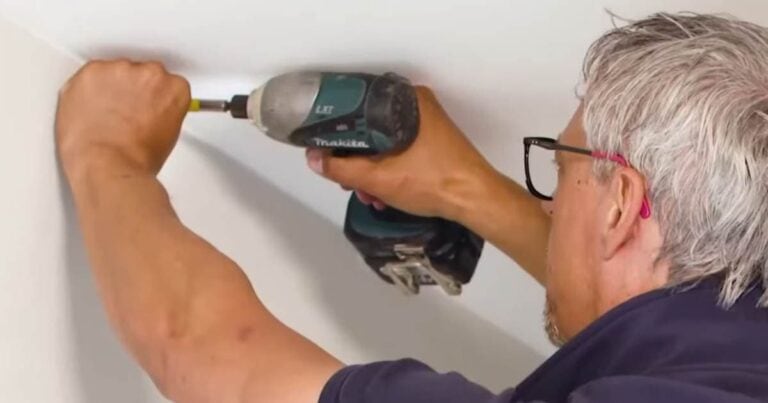
It is important to think of a solution for hanging art which must be flexible, long lasting and easy to use. “For our latest renovation project, we have chosen to install the Artiteq Picture Hanging system. This system is a breeze to install, and you can literally hang anything and replace or adjust your artworks as many times as you wish, all while your walls stay in pristine conditions. No hammer, no nails, no ugly wall hooks, no damage”.
The Artiteq Picture Hanging System has three main components:
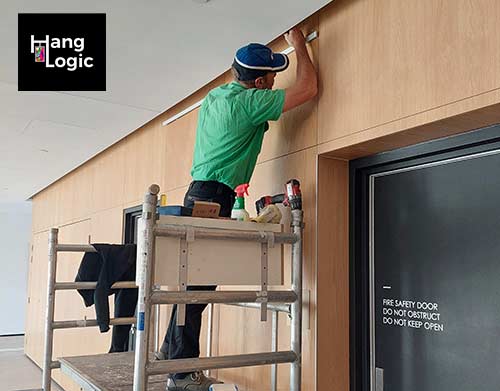
You can fix the hanging rail to the wall, to the ceiling, or even have it completely hidden behind the plasterboard lining for the best aesthetic result. Once the tracks are in place, you can insert the hanging wires into them, and slide the hangers along the rail to adjust the alignment of your artwork – for example, you can make sure it is centred on a specific wall. The hangers can be ordered either in transparent nylon or stainless steel, depending on the weight of your artworks and the look that you want to achieve.
The hooks can be ordered in different weight rating, from 4Kg up to 20Kg per hook. The hooks slide along the droppers and allow you to adjust the artwork vertically so you can make sure the artwork is hanging straight.
You can probably already see the amazing benefits of this system.
If you had to use traditional wall hooks or nails, you will have little to no margin for error. Put the nails in the wrong spot and your picture won’t hang straight. So, you will have to remove the nails from the wall, repair the holes, wait for it to dry, sand the area, repaint, and wait again. And then repeat the process again! This could end up being a frustrating job, especially if you have to deal with high ceiling, and have to do the job by yourself.
With the Artiteq system, it’s so much easier! All you have to do is slide the wires along the rail until the picture is in the right spot of the wall, then adjust the hooks to the desired height along the wires. It’s all a matter of small adjustments. You will probably have to do a few before achieving the optimal result, but isn’t it great that you won’t have to touch your walls at all for the whole process?

Tips to Hang Art from High Ceilings: How to Deal with Staircases?
Aaron says: “I would think that the type of staircase you have is kind of important. Once again, planning is definitely key and you really have to consider your personal style. Best to come up with two or three different plans, to evaluate different options of how it could work for you”.
What’s the right height to hang art in a staircase?
“The art really should be displayed in front of your face. So pretty much the centre of the wall should be kind of where your head is. The issue that I have with people sometimes is that they want to hang pieces that are too small too high. Height is definitely a big issue in staircases, and artworks sizes are an issue too. My recommendation is to think bigger. Tiny pieces of art do not make a statement”.
Aaron continues: “there is no point having tiny pieces of art and being unable to see them because they are placed too high. It’s not going to work”.
“It’s much better to make a big bold statement when you can. If you have a landing between staircases you can continue the art in that area. Another alternative is to just have the art there and not all the way up the stairs”.
As Aaron’s suggestions got us intrigued, we asked him: “Is any famous example of this around the world, that you can recall from your experience?”
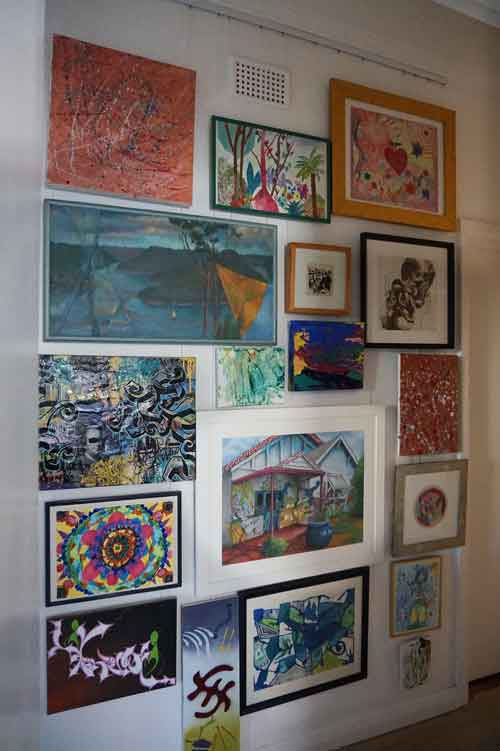
Aaron says: “For sure! Check out Brian Gluckstein fantastic stairwell that he did at the Princess Margaret’s. That is such a great example of how you can combine high ceilings over a relatively small floor area, such a s a staircase can be. The reason it works so well is because it’s so simple. It’s so beautiful. All in black and white. It’s all in the same kind of frames. So, you’re just kind of sweeps across it very seamlessly. Very well thought out, but so simple at the same time. You’ve got this beautiful and eclectic look, sort of like a gallery wall”.


As Aaron shows us some pictures of this wonderful design example, we look at that think, oh my gosh, that it’s so daunting!
So, we asked: “Aaron, do you have any practical tips for us on creating a wall like that?”
He replied: “Sure! I think the best way to start is with a large piece in the centre and then kind of spiral around that. You’re always going to have just about enough room to make everything work. From a simplicity perspective, keeping all the frames the same colour is a great kind of beginner’s way to make it all work. For instance, we talked about the idea of black and white as well. You could keep everything in the same colour palettes, all in the same frame and it will look amazing. At the same time, you could make it more eclectic, more playful, and then more sense of your personality”.
What technique do you use to plan and visualise your art display before hanging the artworks to the wall?
“Well, if you want to use the old-school method, be prepared to be up for a lot of work. You can lay all the frames out on the ground, and see how they look like. Or you can cut out craft paper the same size as the frames and then stick it up on the wall to see how it looks like. If you like the result, you will then make some pencil marks to note where each frame is supposed to go. However, you need to be careful as sticky tape may cause damage to your walls.
If you want to be more efficient about it, the picture hanging system is actually fantastic and a very smart way to do it. Just have a few droppers hanging from the rail: best to have two per frame, if the frame is a larger one. With small size frames (say less than 20cm wide) just one dropper may be enough. Then slide a few hooks along the hangers, as many as the pictures you wish to hang. All you have to do is slide the wires along the rails and adjust the hooks to the correct height, until you reach a configuration that you are happy with. That is so easy, and a very smart thing to do it as you can do it as many times as you wish without damage on your walls”.
Aaron, do you have recommendations for what sort of wires and hooks to use?
“Well, it all comes down to how heavy your artworks are, and what sort of look you are after. As for the rail, I recommend going for the Shadowline rails if you like the rail to be invisible, all you will see is a tiny (3mm) groove at the junction between your ceilings and walls!
In terms of hangers, you can go for stainless steel wires if you are after more of an “industrial” or “gallery-look”. As we are talking about high ceilings, I suggest using the Artiteq Cliq2Fix. These hangers have a special attachment which prevent them from popping out the rail accidentally, during the installation. You just pop the hanger in the rail and twist it. Once this is done, it will stay there permanently, although you can still slide it across the rail.
Think about it, you may have a staircase with 6metre high ceiling. Most clients like to install the rail just below the ceiling, because it looks great there. However, if a wire was to pop out, you would need a scaffold to get up there again! Choose the Artiteq Cliq2Fix and stay assured you won’t have this problem.

Ready to start?
Have you got high ceilings? Are you looking to learn more about how you can improve the beauty and efficiency of your house, workspace, art gallery, etc.?
Whether you seek something simple to keep your walls tidy and pristine or comprehensive systems to create an impressive art display, we are just a phone call or an email away.
Contact us today by calling us on 0432 924 305 or email us at team@hanglogic.com.au for a FREE consultation. Or, if you prefer to work things out
yourself, browse through the frequently asked questions on our webpage.